

Workspace Tour!
Prepare to enter the headquarters of Creative & Caffeinated! Full disclosure— very minimal cleaning was done prior to the writing and photographing for this blog post, so this is about as real as it gets.

In this blog post I’ll be breaking down some of the major storage and technological components of my work space. I’ll be sharing some of my favorite organizational tips and sharing links to items that you can purchase for your own home office or art studio! In the spirit of full-disclosure, I am an Amazon Affiliate and some of the links provided in this post are affiliate links. This means I earn a small commission from any purchases made through these links—however, this does not affect the cost to you, the consumer. Affiliate links will be differentiated with an asterisk (*) for transparency.
One final disclaimer before we continue: This workspace, which is actually the spare bedroom, has been a work in progress over the last 6 years. While I am very fortunate to have a loving partner who understands that my jobby (job + hobby) takes up a lot of real estate in our tiny apartment, some of my storage solutions have had to adapt into a space that is workable for both of us. Whether you’re currently building your creative empire from your living room sofa, or a tiny corner of a spare closet, it’s important to remember that a workspace is all about what works for you. Your dream workspace isn’t something that will be developed over night. It’s something that should be ever-changing, just like you!
An Overview:
The Foundation:
Let’s start by talking about the basic building blocks of my office— the larger pieces of furniture that allowed me to create a multi-functional workspace. It probably won’t come as a shock to you that many of these pieces are from IKEA. They were relatively inexpensive, modular, and convenient for me to shop in store so I could make sure it was right for me. I know IKEA isn’t necessarily the most long-lasting eco-friendly option out there, and many of you don’t have access to a brick and mortar store to go in and look at the items in person. I wanted to share the main items that I have purchased and used from IKEA for your reference, but strongly encourage that if you plan to use IKEA furniture, you look at purchasing second-hand IKEA furniture, it’ll save you money and BONUS— it’s already assembled! Other options include thrifting, or even some simple DIYs.


IKEA Shopping List:
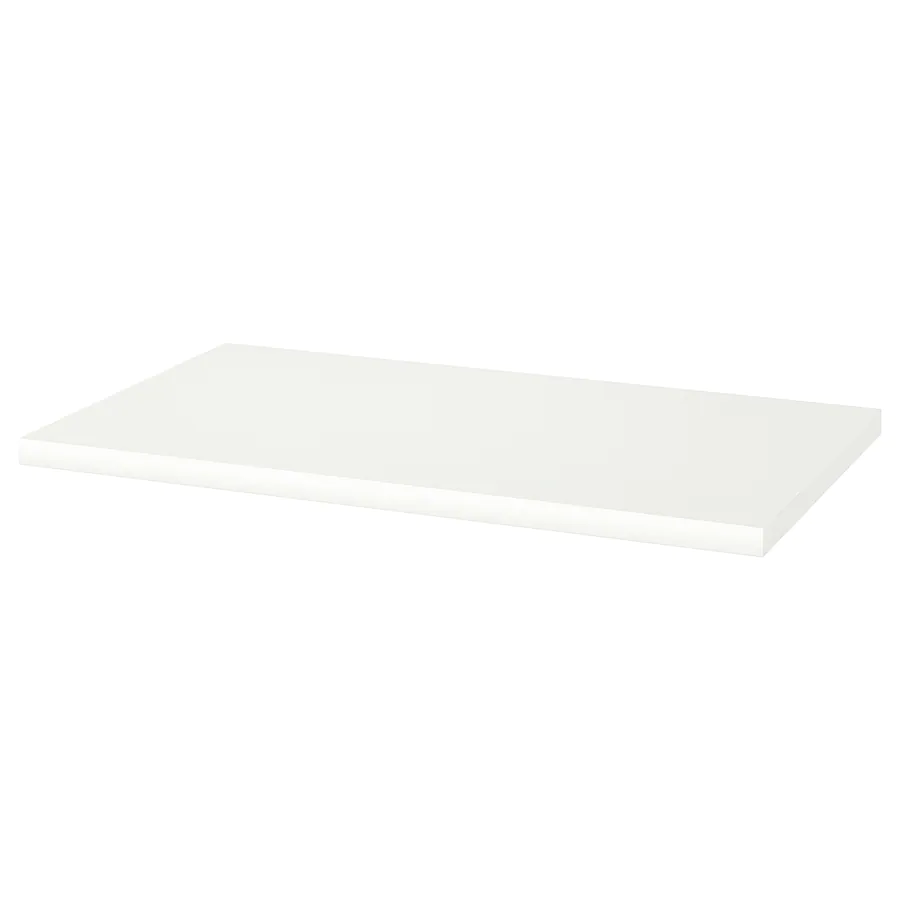
2 LINNMON Tabletops + ADILS Legs (different sizes available)
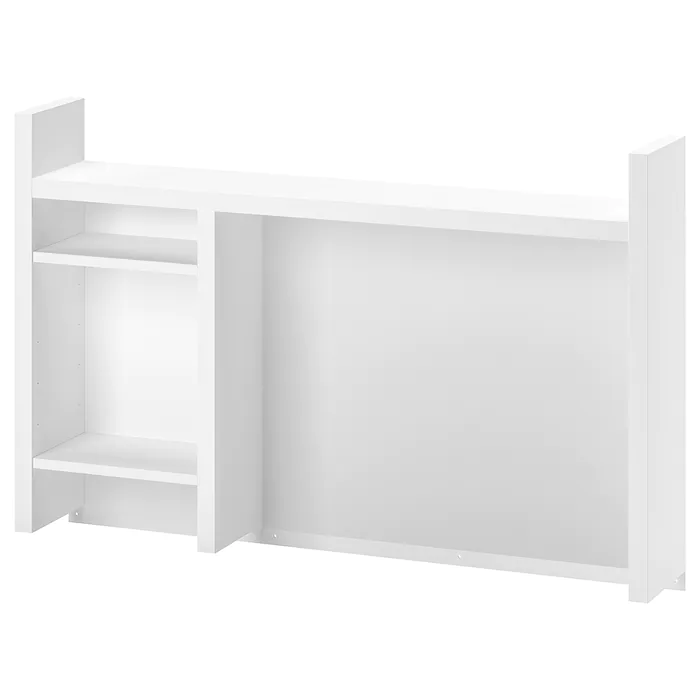
MICKE Desk Add-On Unit (Great for making extra storage)
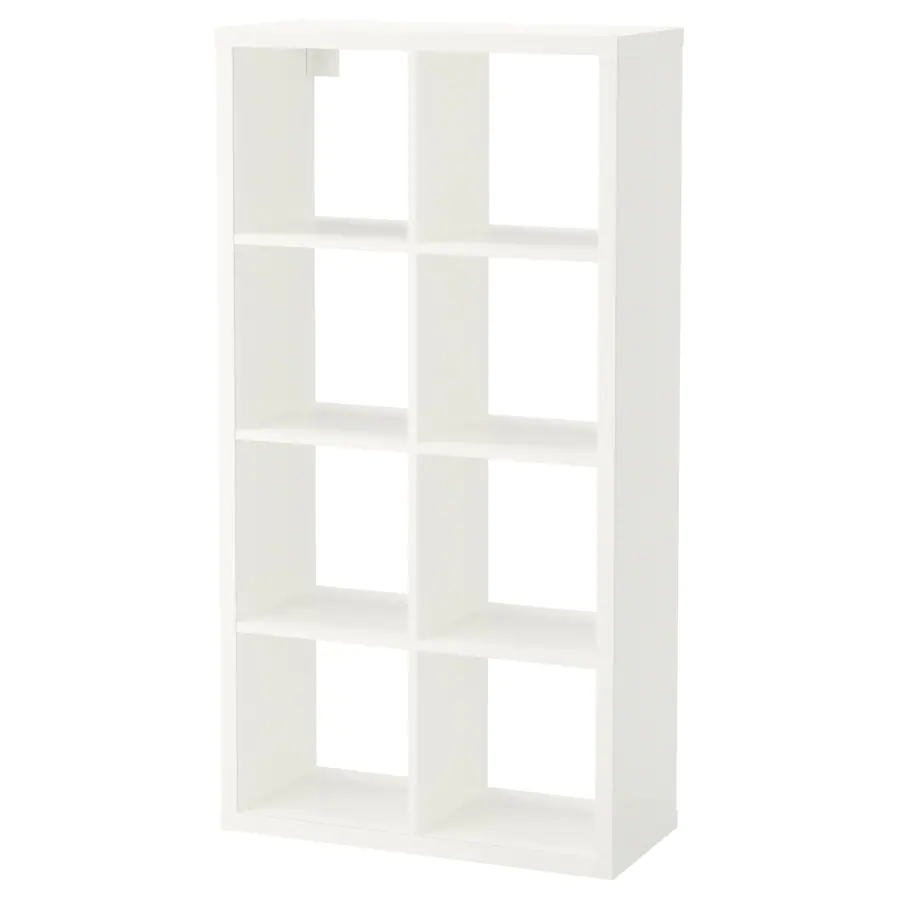
FLYSTA Shelf (Smaller & Cheaper than the KALLAX)
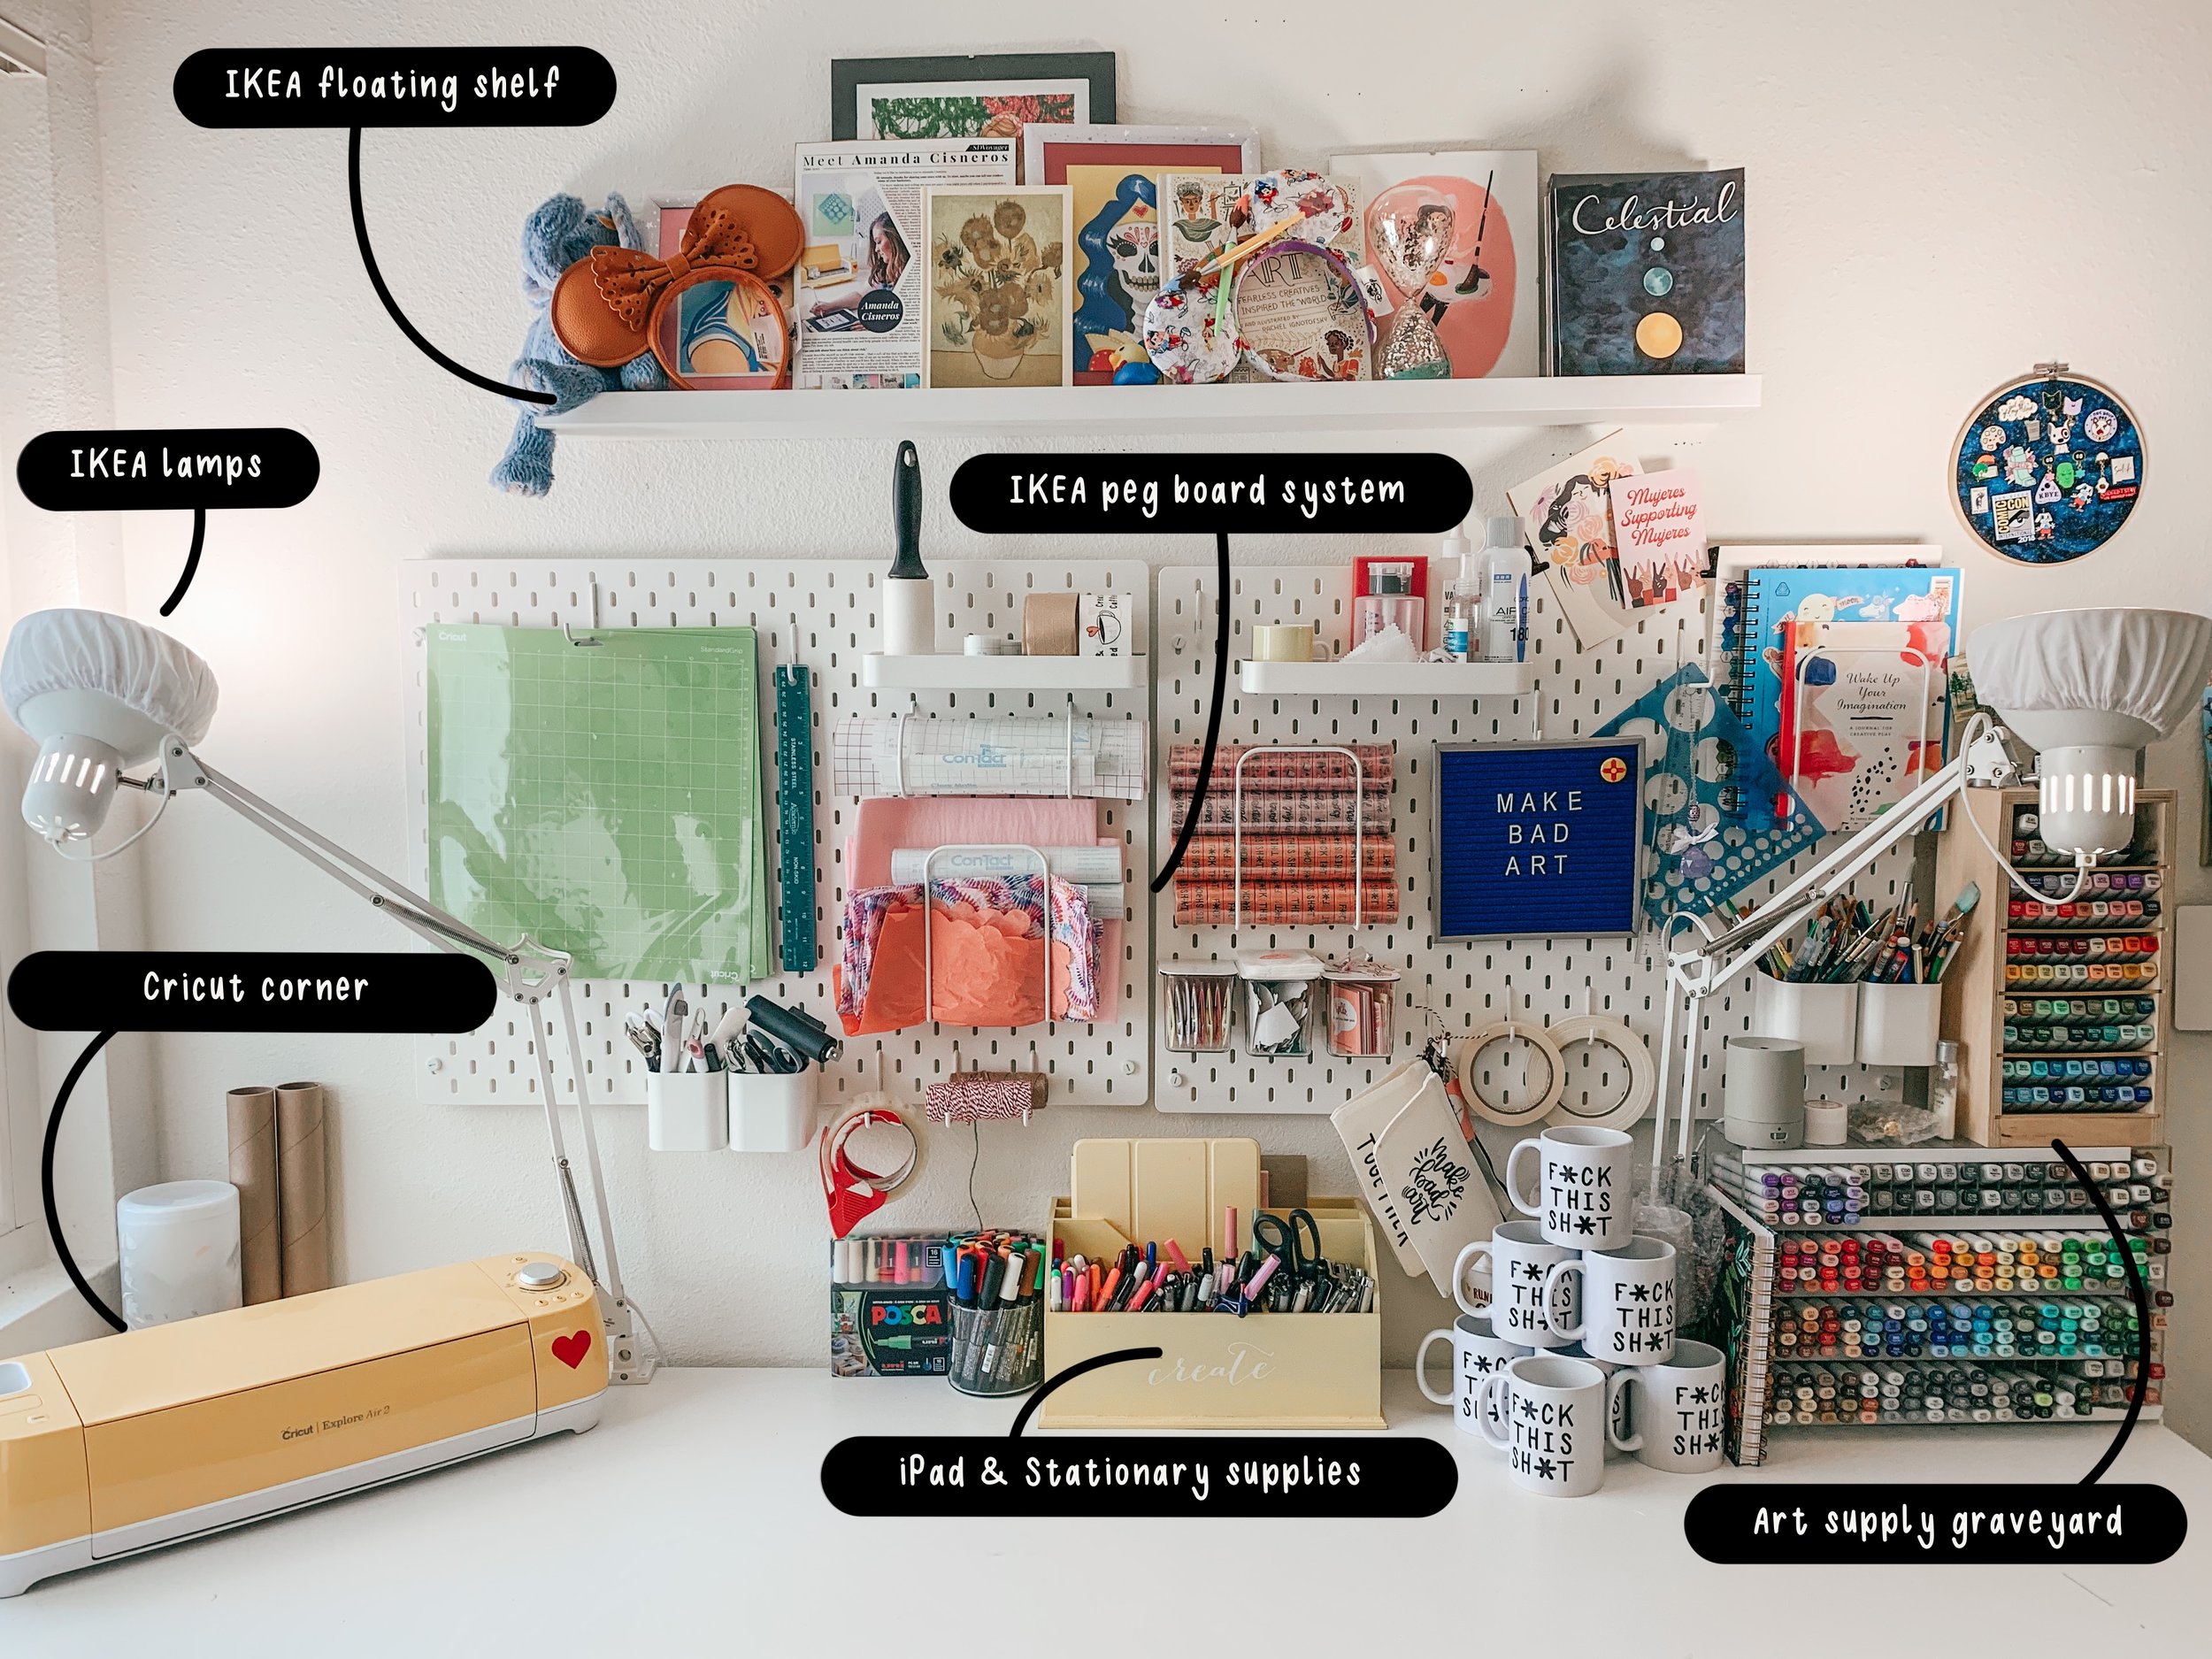
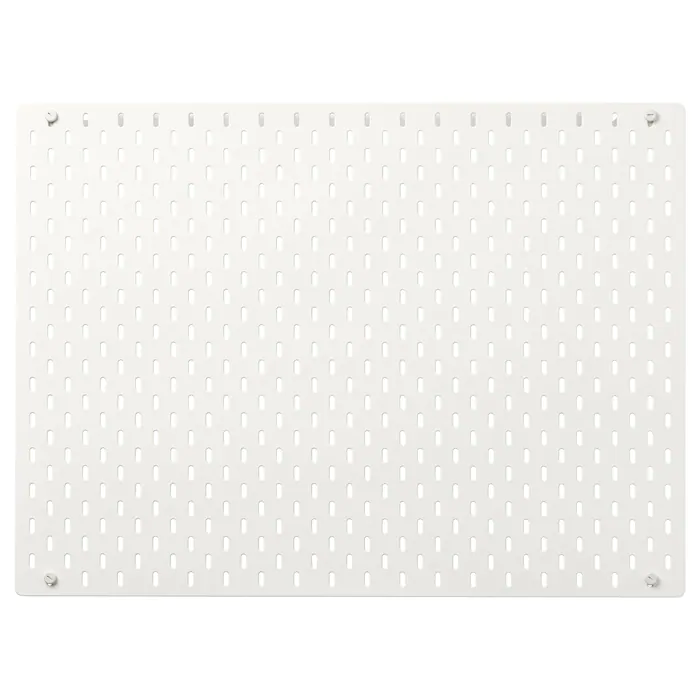
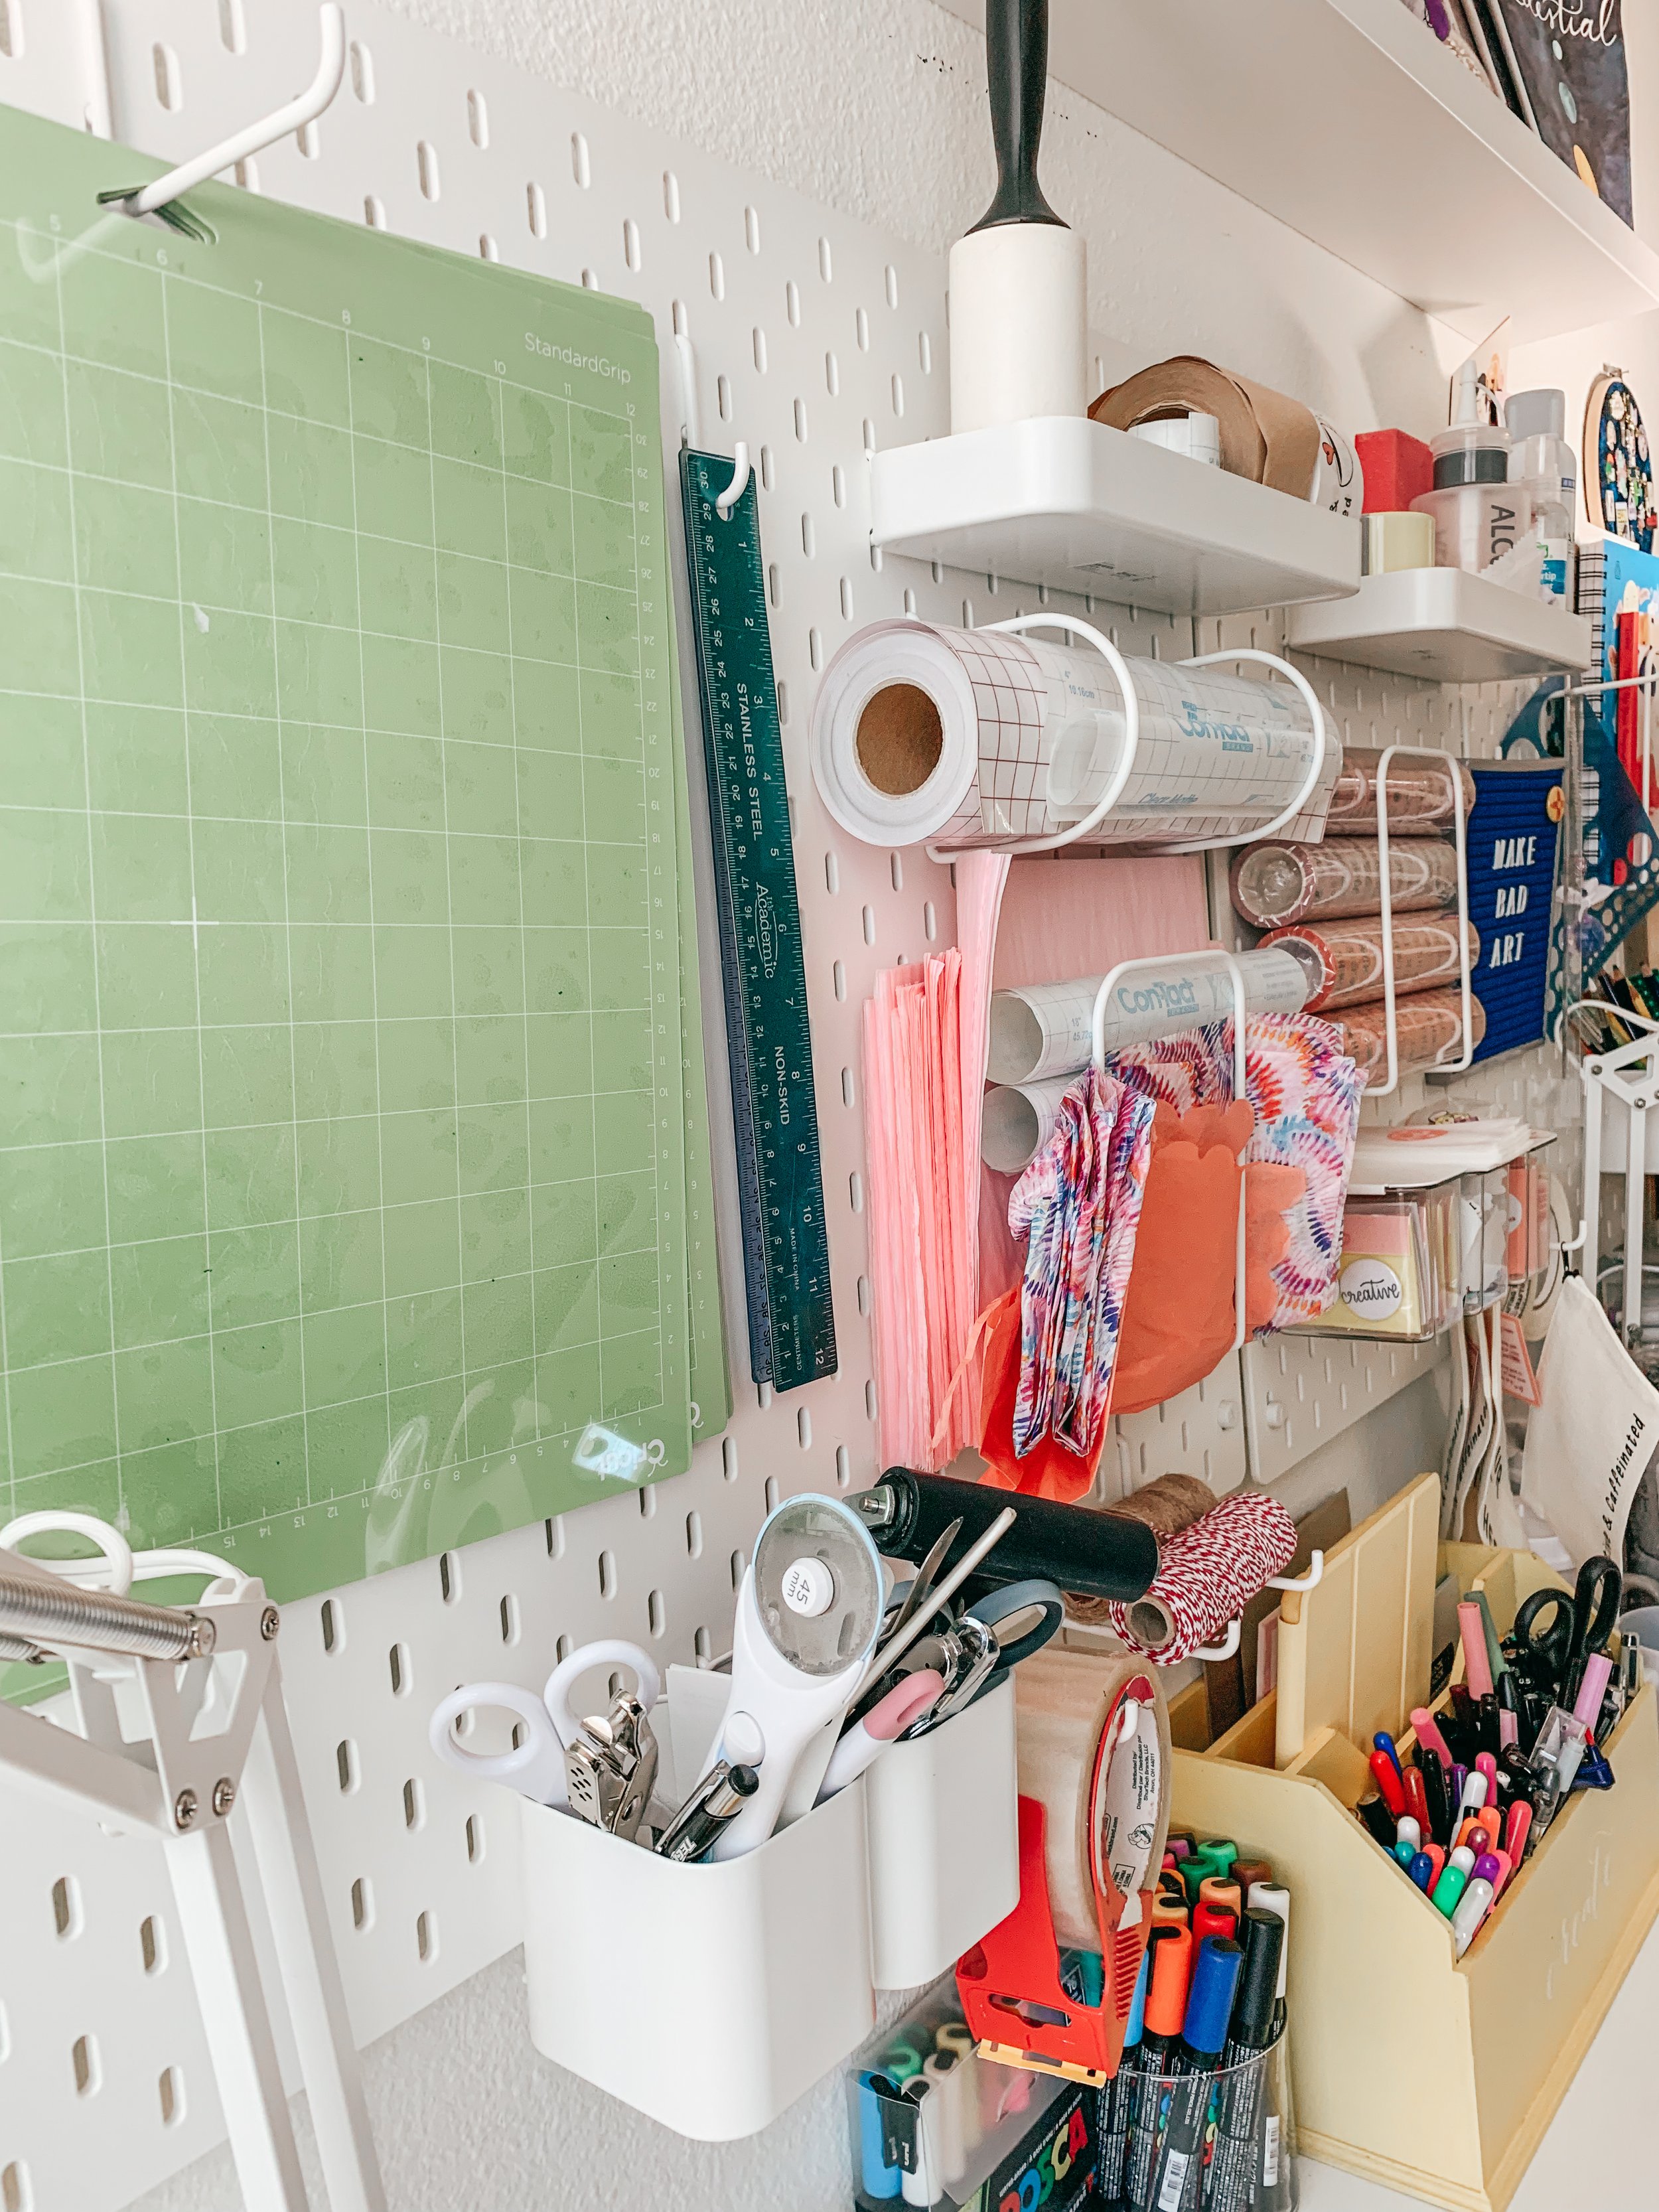
2 SKADIS Peg Boards + Accessories (Seriously the BEST way to organize)
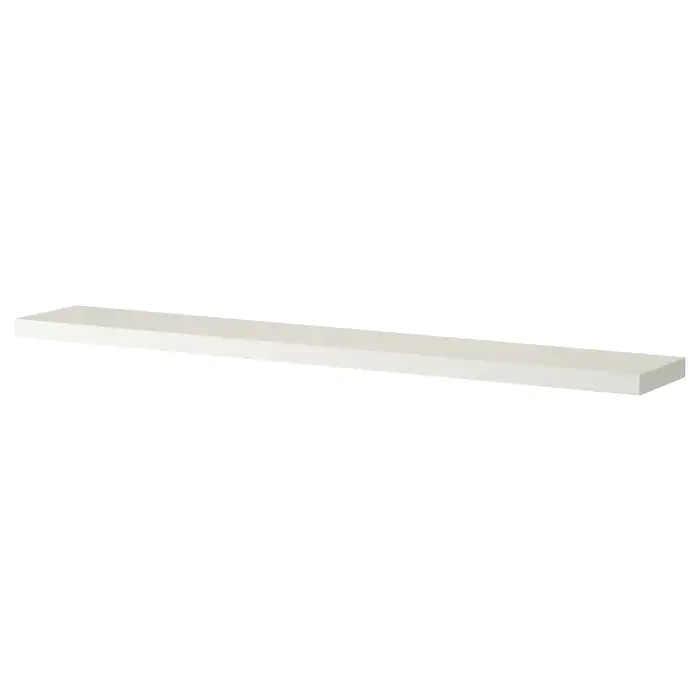
LACK Floating Wall Shelf (Mostly decorative, not very load bearing)
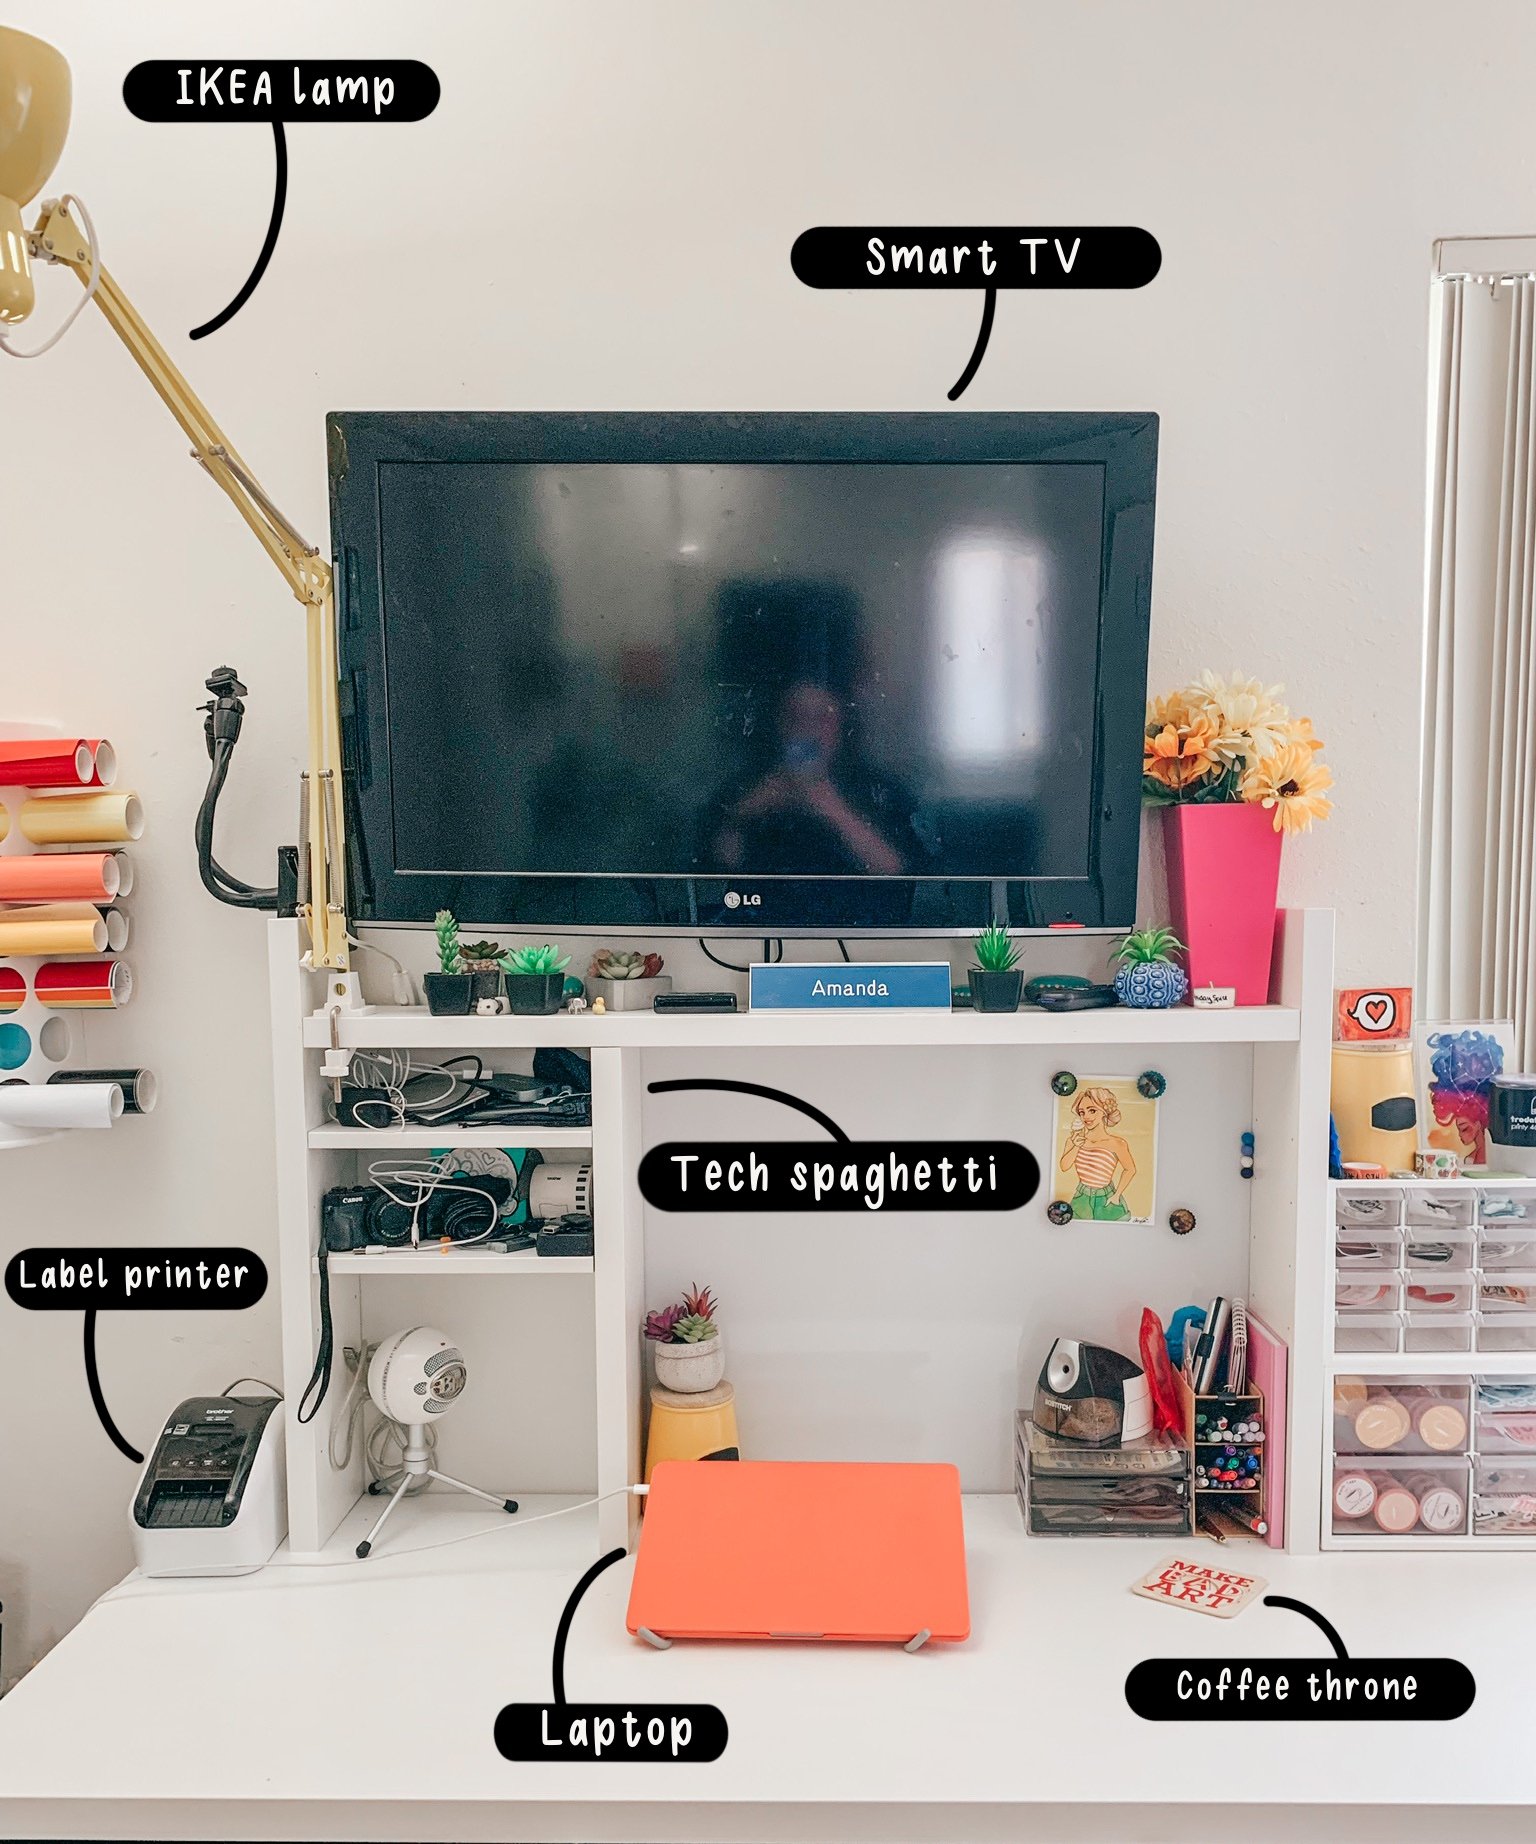
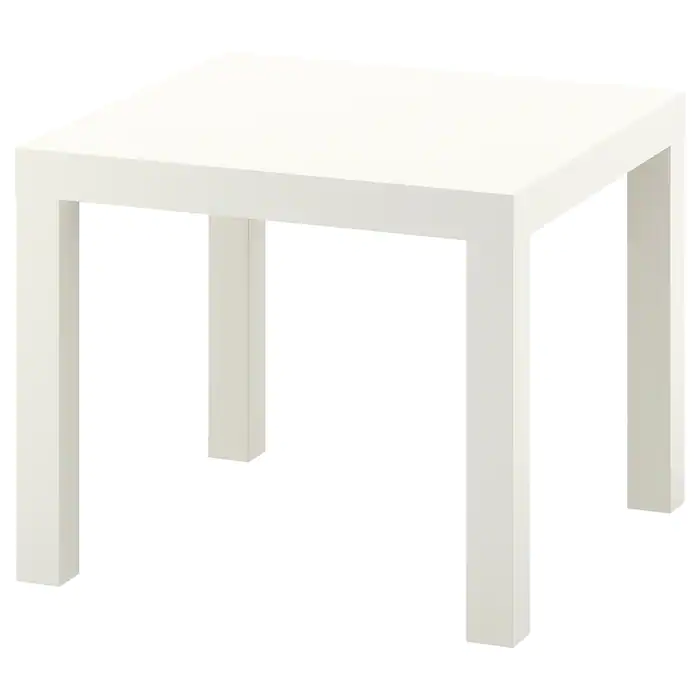
LACK Side Table (works great as a printer stand)
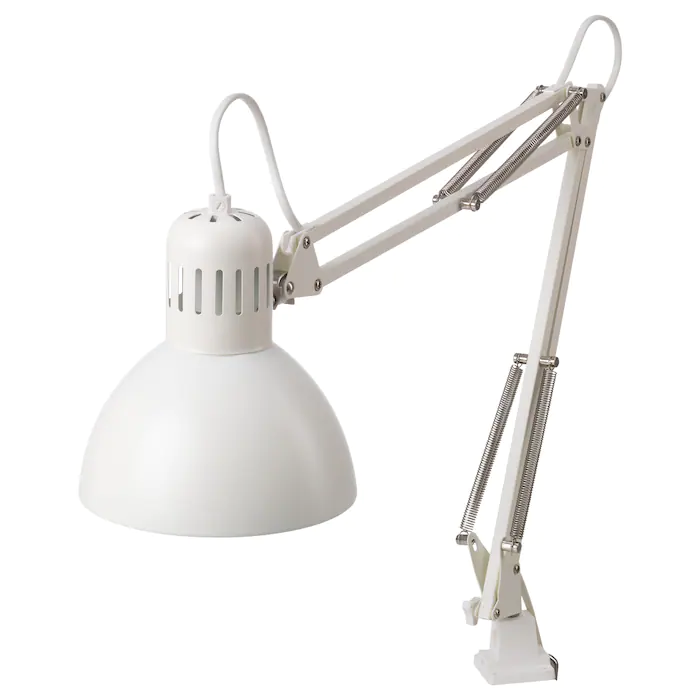
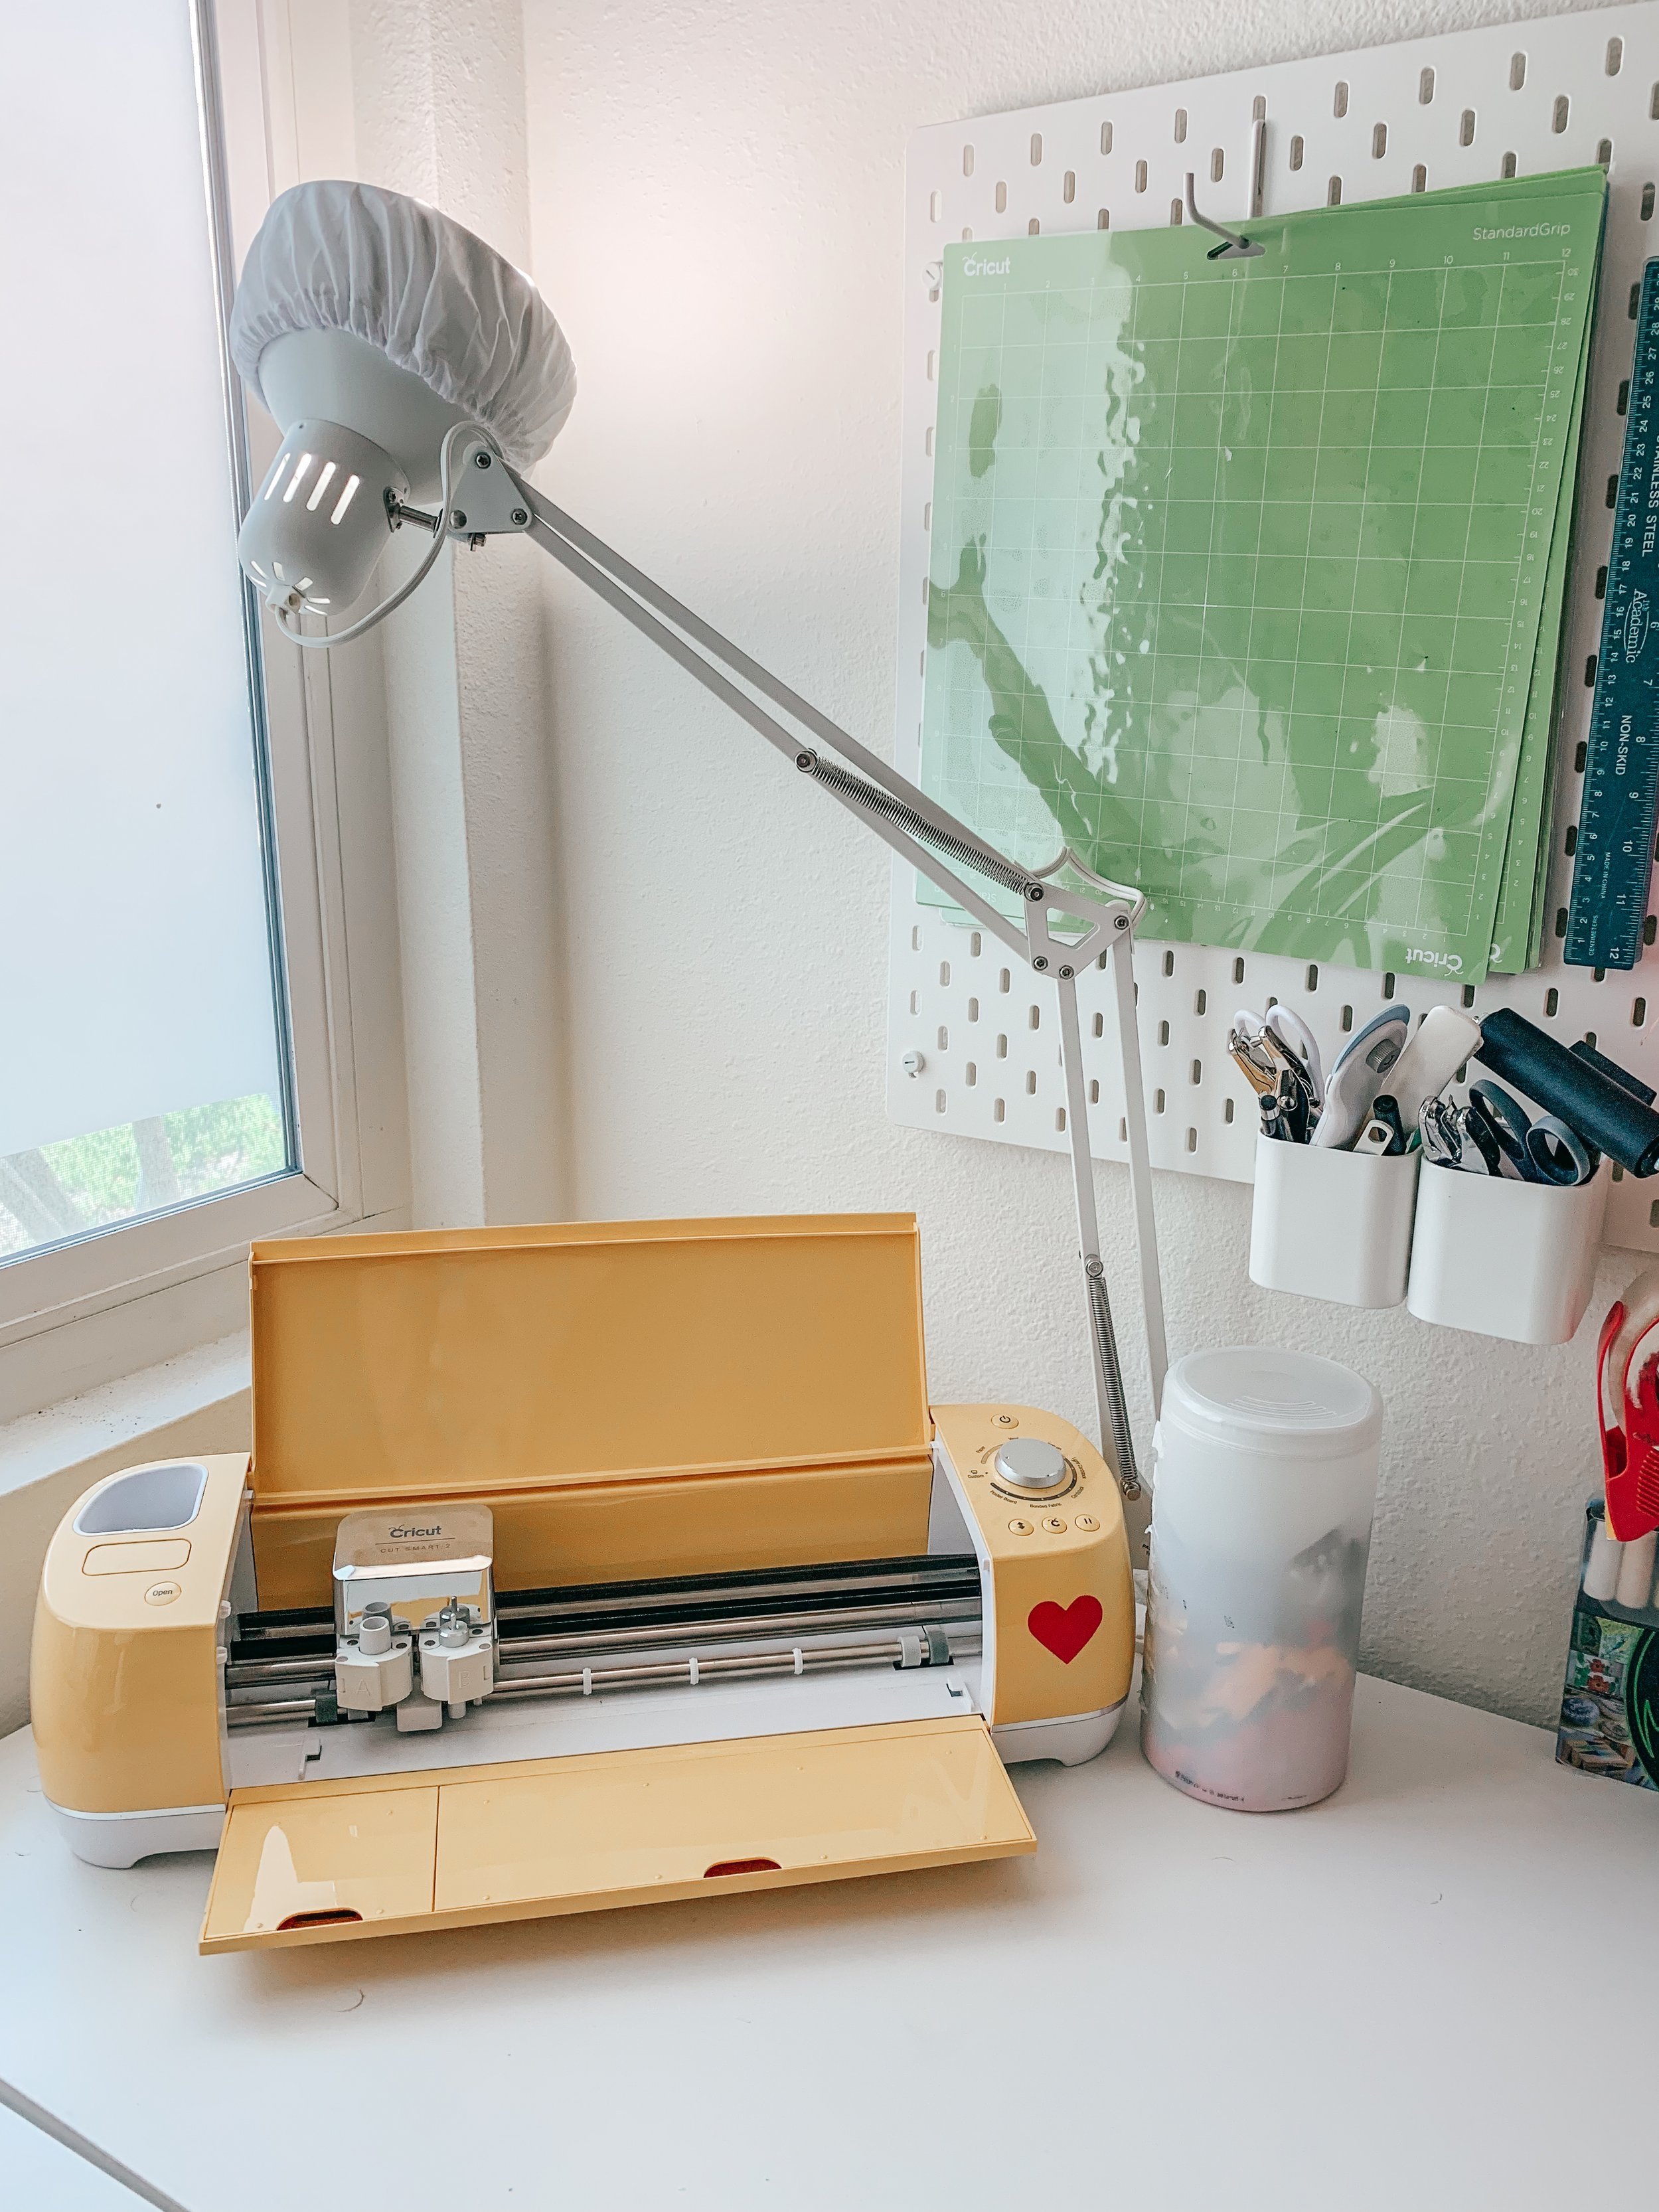
TERTIAL Work Lamp (I replaced the bulb with these Smart Bulbs* and added these Diffuser Socks* Amazon)
A Place For Everything:
Now let’s talk about the drawers and desk-top storage that I use. As mentioned, our tiny 2-bedroom apartment isn’t necessarily designed with my creative empire in mind, so creative storage solutions are definitely a must-have! Let’s start big and work our way down.

First, there’s this set of office drawers that I inherited from my dad when I moved off to college (back in 2012!!!) and they are still going strong. I don’t know the brand or where you can find these exact drawers, however, the IKEA ALEX drawers are a popular storage solution for many crafters, and I could see them working great in this application. I use these drawers to store the bulk of my traditional art supplies, like watercolors, markers, pencils and papers.

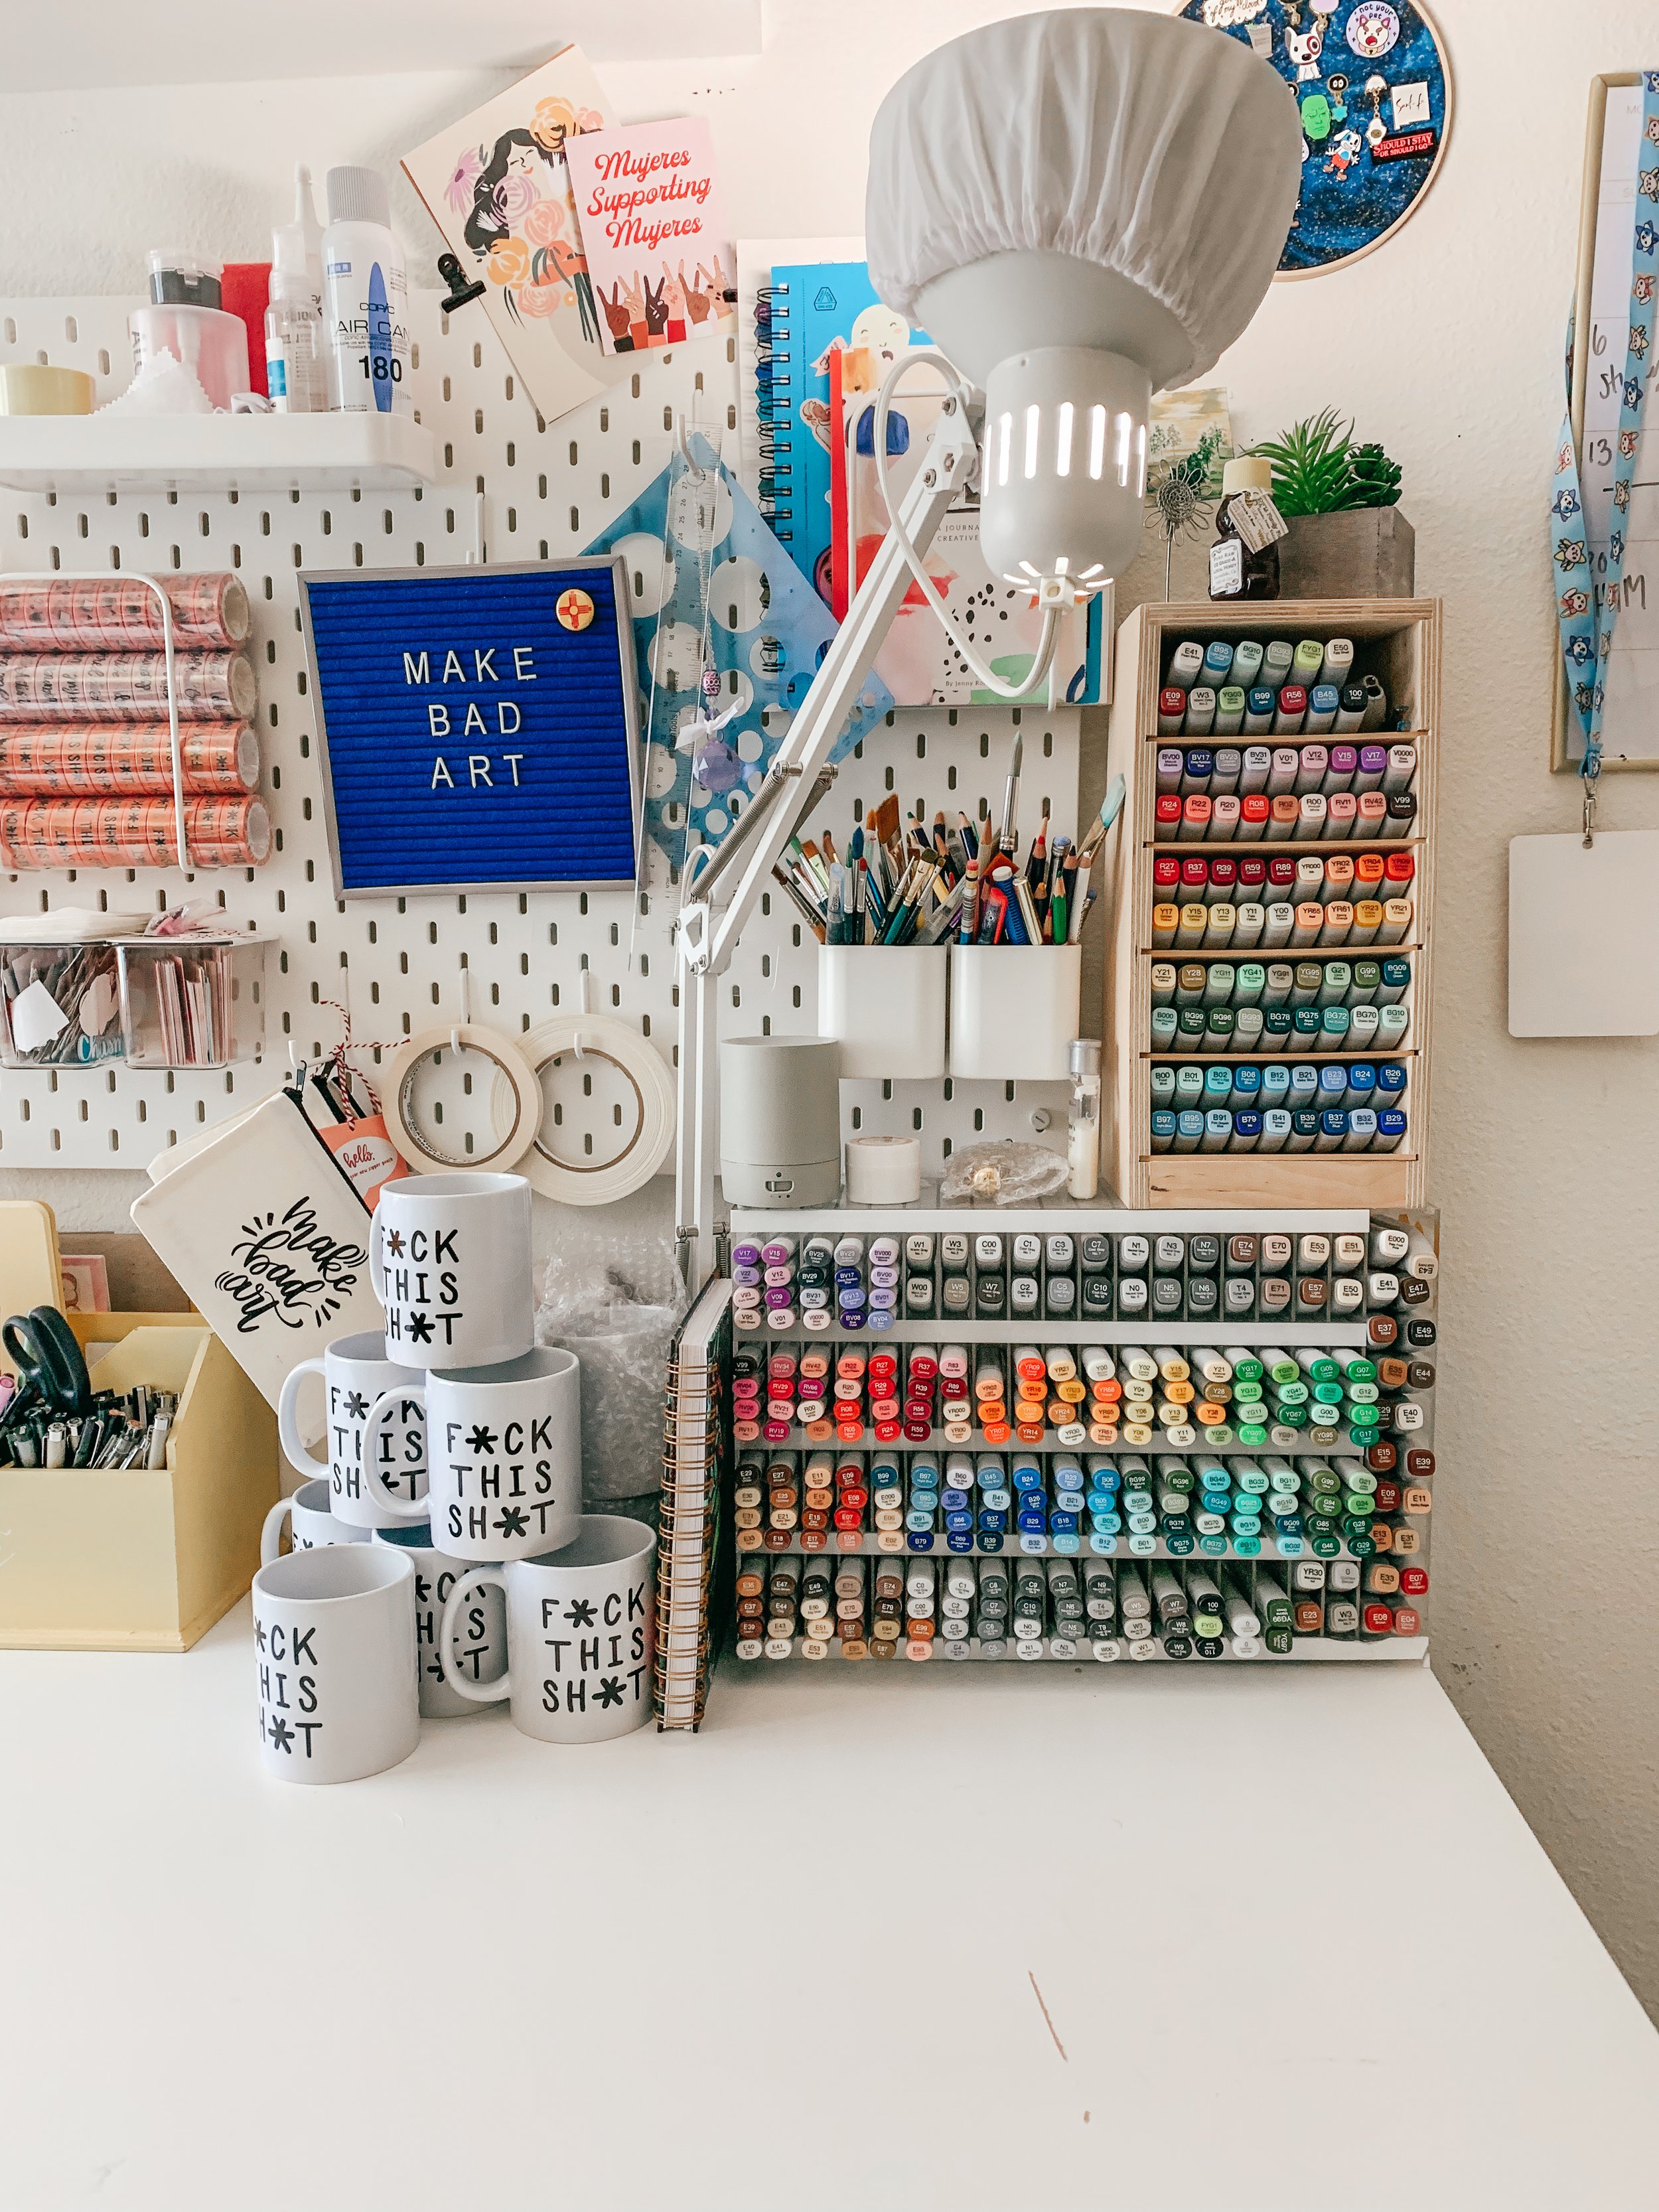
Speaking of storage for traditional art supplies, which I rarely use nowadays, since discovering the iPad. I use this acrylic container* from Amazon to store my Copic markers and this Stamp & Storage wooden storage container to store my Copic refills (I’ve had this one since 2014 and it’s still going strong!).
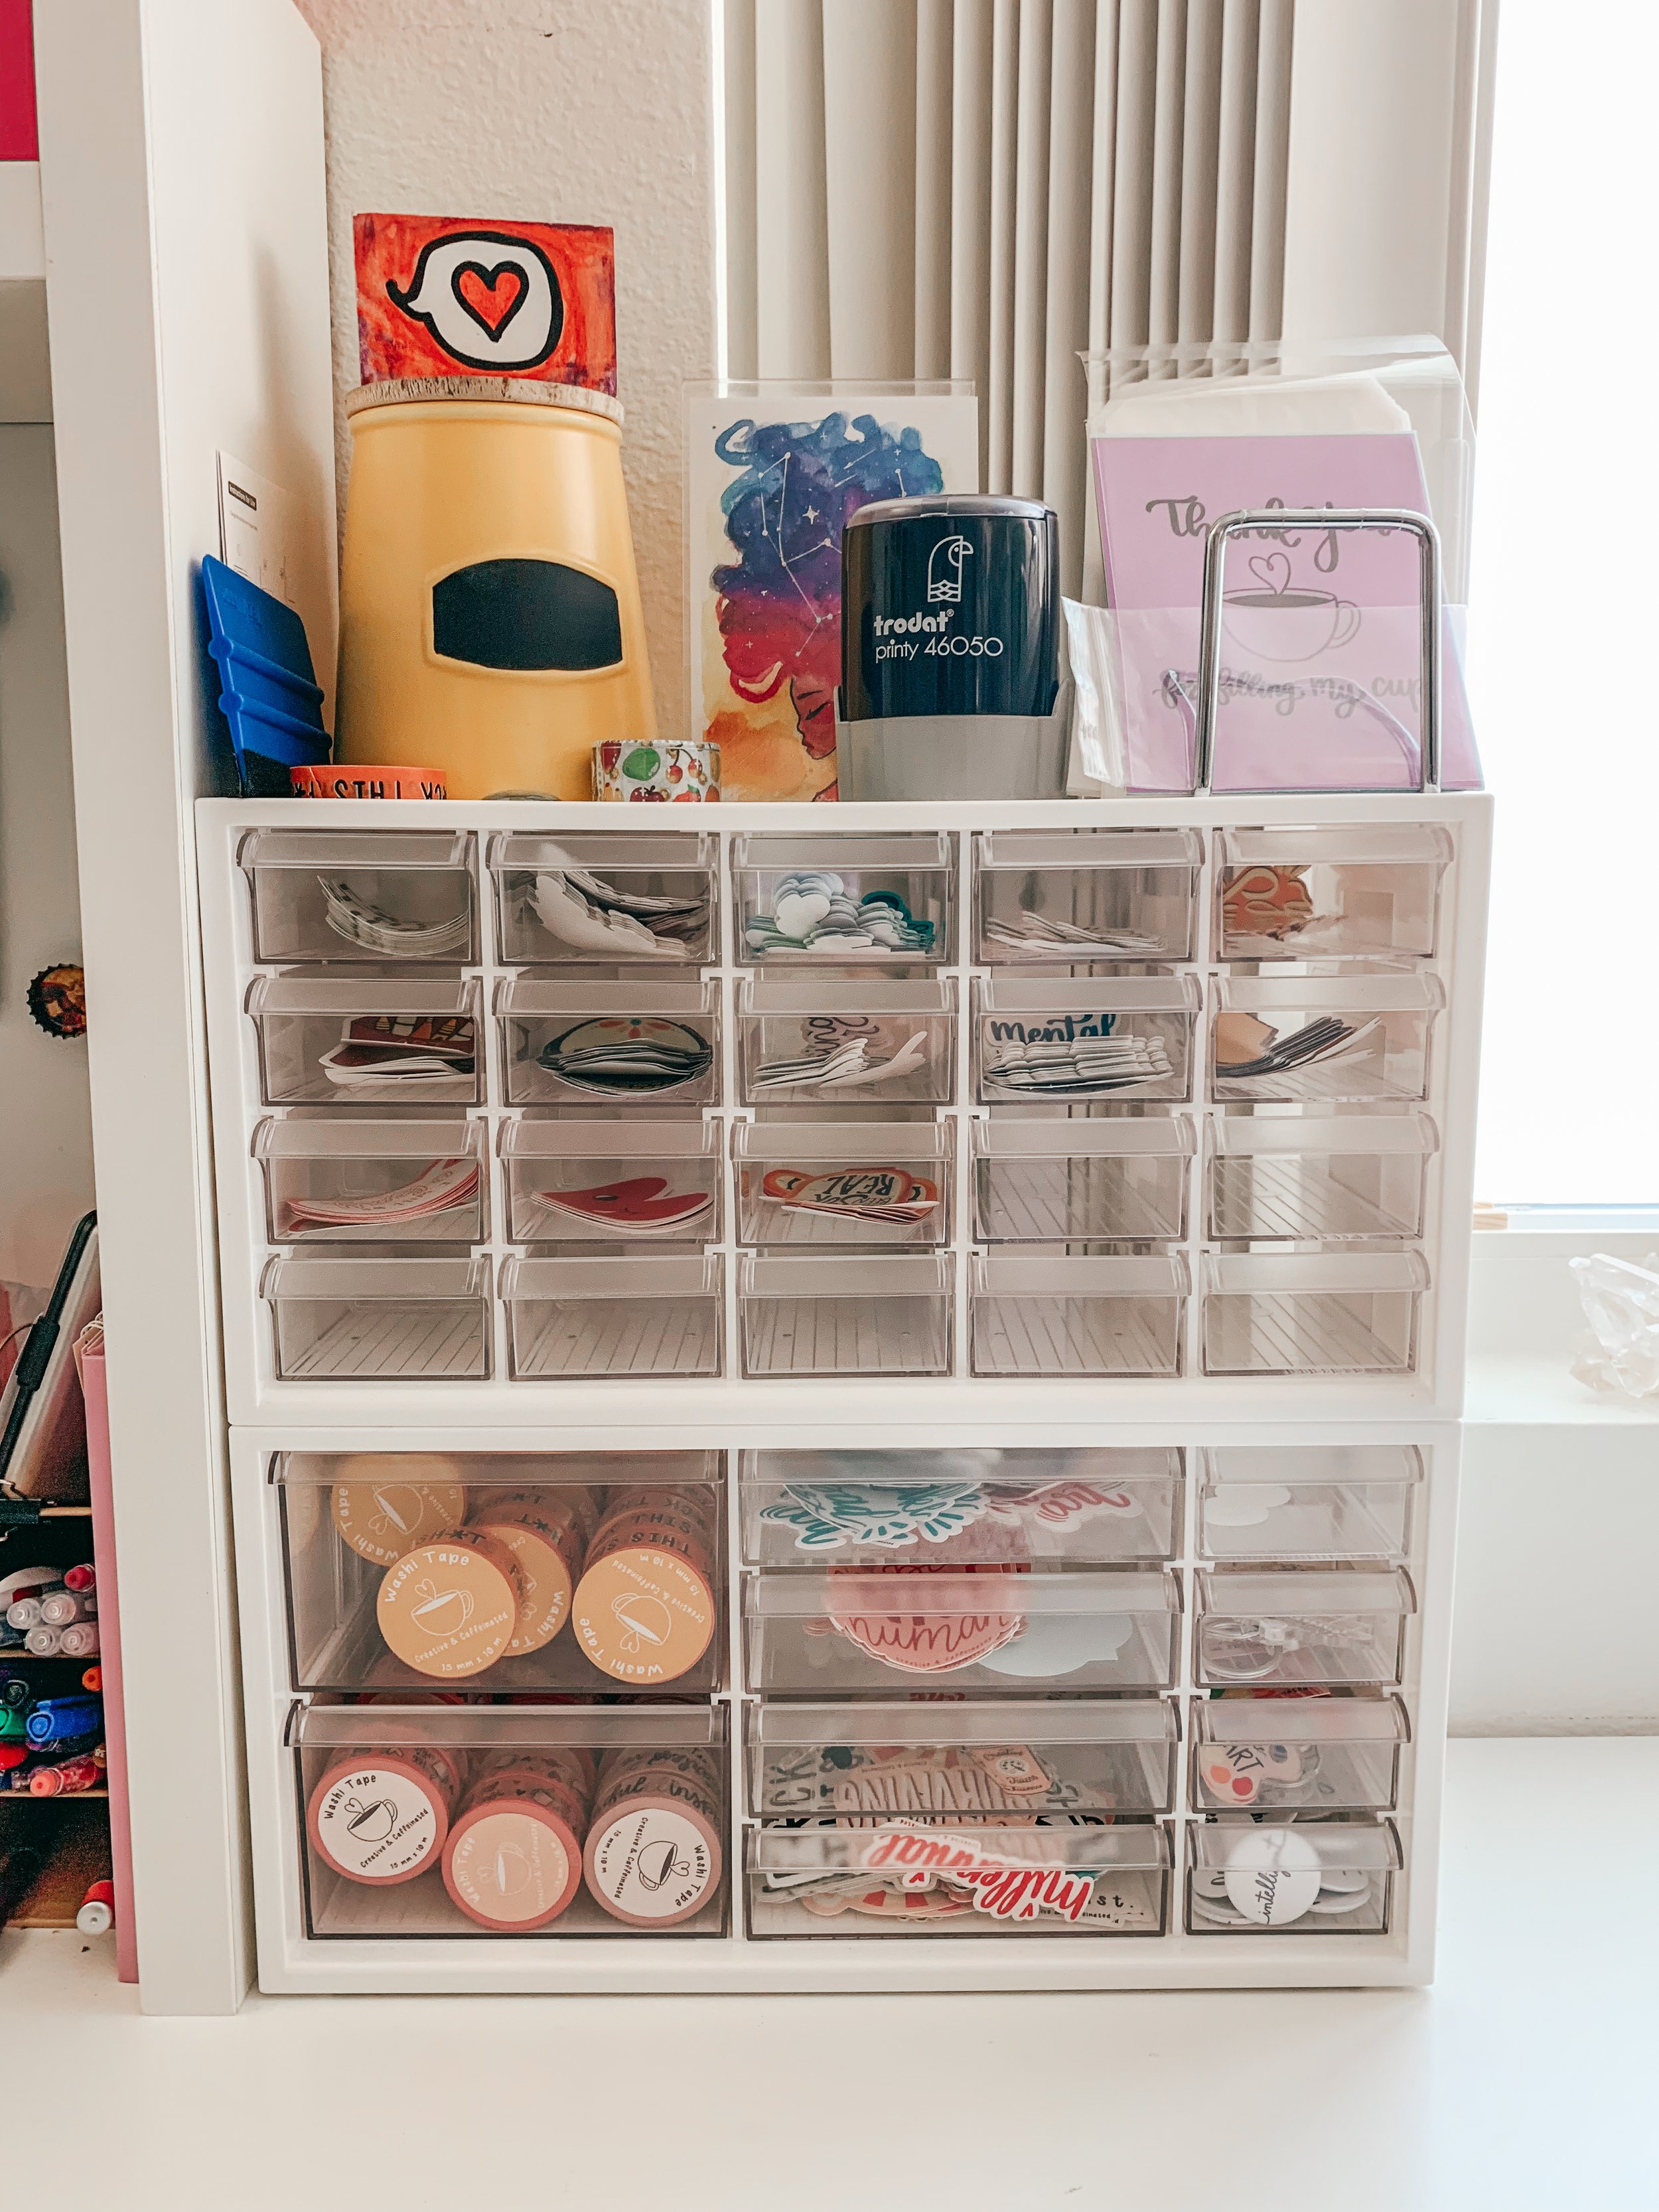
Shifting gears a little bit into some storage that I use for my Creative & Caffeinated products. I adore these stackable acrylic drawers from The Container Store. If you don’t have a Container Store near you, they are also available on Amazon*, but are nearly double the price, so definitely price check these ones and figure out what the best value is going to be. As shown here, these drawers store my stickers, washi tapes, pins and freebie stickers with ease! There’s even room to grow… so I guess I better start designing some new stickers soon! 👀

Here’s a creative storage solution that I love in my office! It definitely wasn’t my idea, but whoever figured out that these plastic bag storage containers* make the perfect storage for rolls of vinyl, deserves a cookie! Each container can hold approximately 14 rolls of vinyl and adds a fun pop of color to your wall. They are easy to install, and come in a pack of 2 on Amazon!

Now, time for one of my favorite office finds! This adorable yellow stationary organizer was thrifted from an AmVets in San Diego. It’s the perfect way to organize my most-used pens and stationary supplies, and it even has a slot to store my iPad when it’s not in use, which keeps my work station looking neat and tidy! While I can’t link to this exact one, there are tons of stationary organizers available in store and online, like this one* from Amazon! However, a strong case can definitely be made for checking out your local thrift shop.

And last up, in our “Everything In It’s Place” category… one of my favorite organization hacks! Upcycled containers, like this glass candle jar, can become great storage for things like pens, pencils and various tools that you want to keep within arms reach. In this case, I used it to store my Posca Pens*, which I love to have easily accessible for decorating orders before they are shipped out!
What About The Skeletons?:
Ahh… yes, you means the skeletons in my closet? The closet is easily the least organized part of my workspace. I’m thankful for the storage space, but as mentioned previously, I share some of this space with my partner which means the closet becomes a catch-all place for linens, camping gear, holiday decorations and other odds and ends. Sometimes it’s easier to just close to door and forget it’s all there, which is why it often looks a little more disheveled than the rest of my workspace. As mentioned previously, I really wanted to keep this blog post 100% real to my every day work space to show you how my organizational habits really work in practice, so here you have it! My closet, skeletons and all!
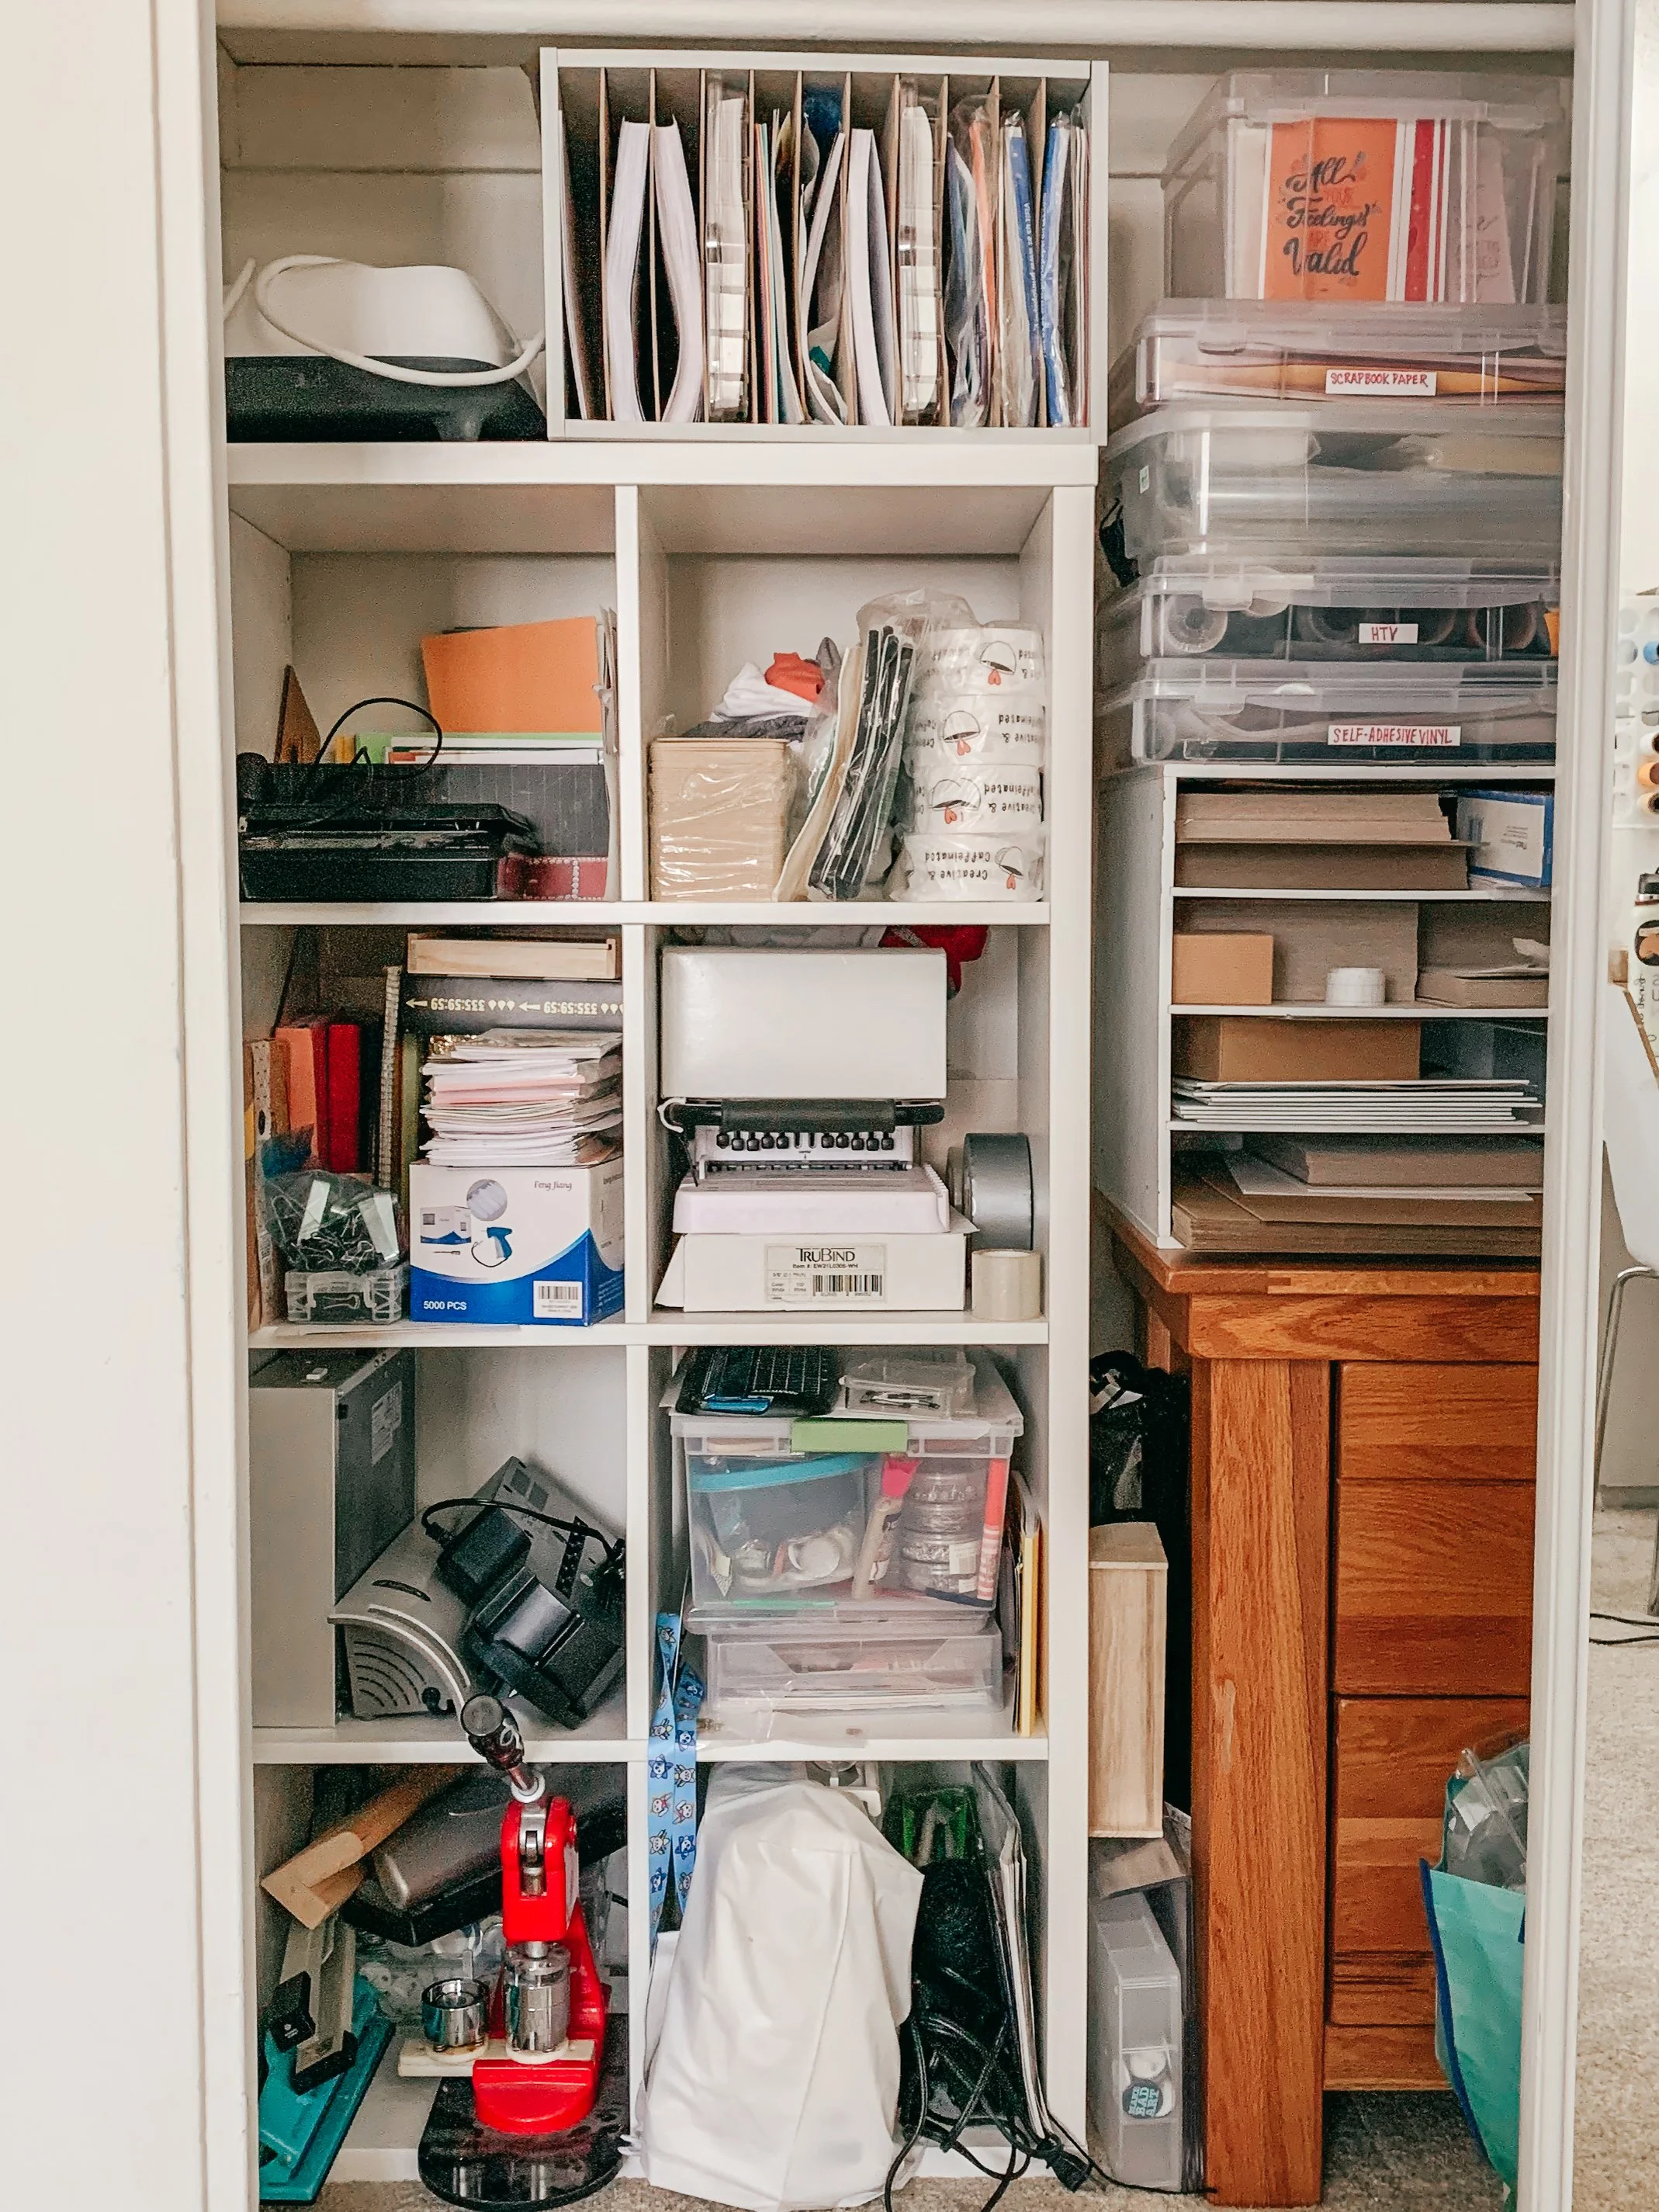
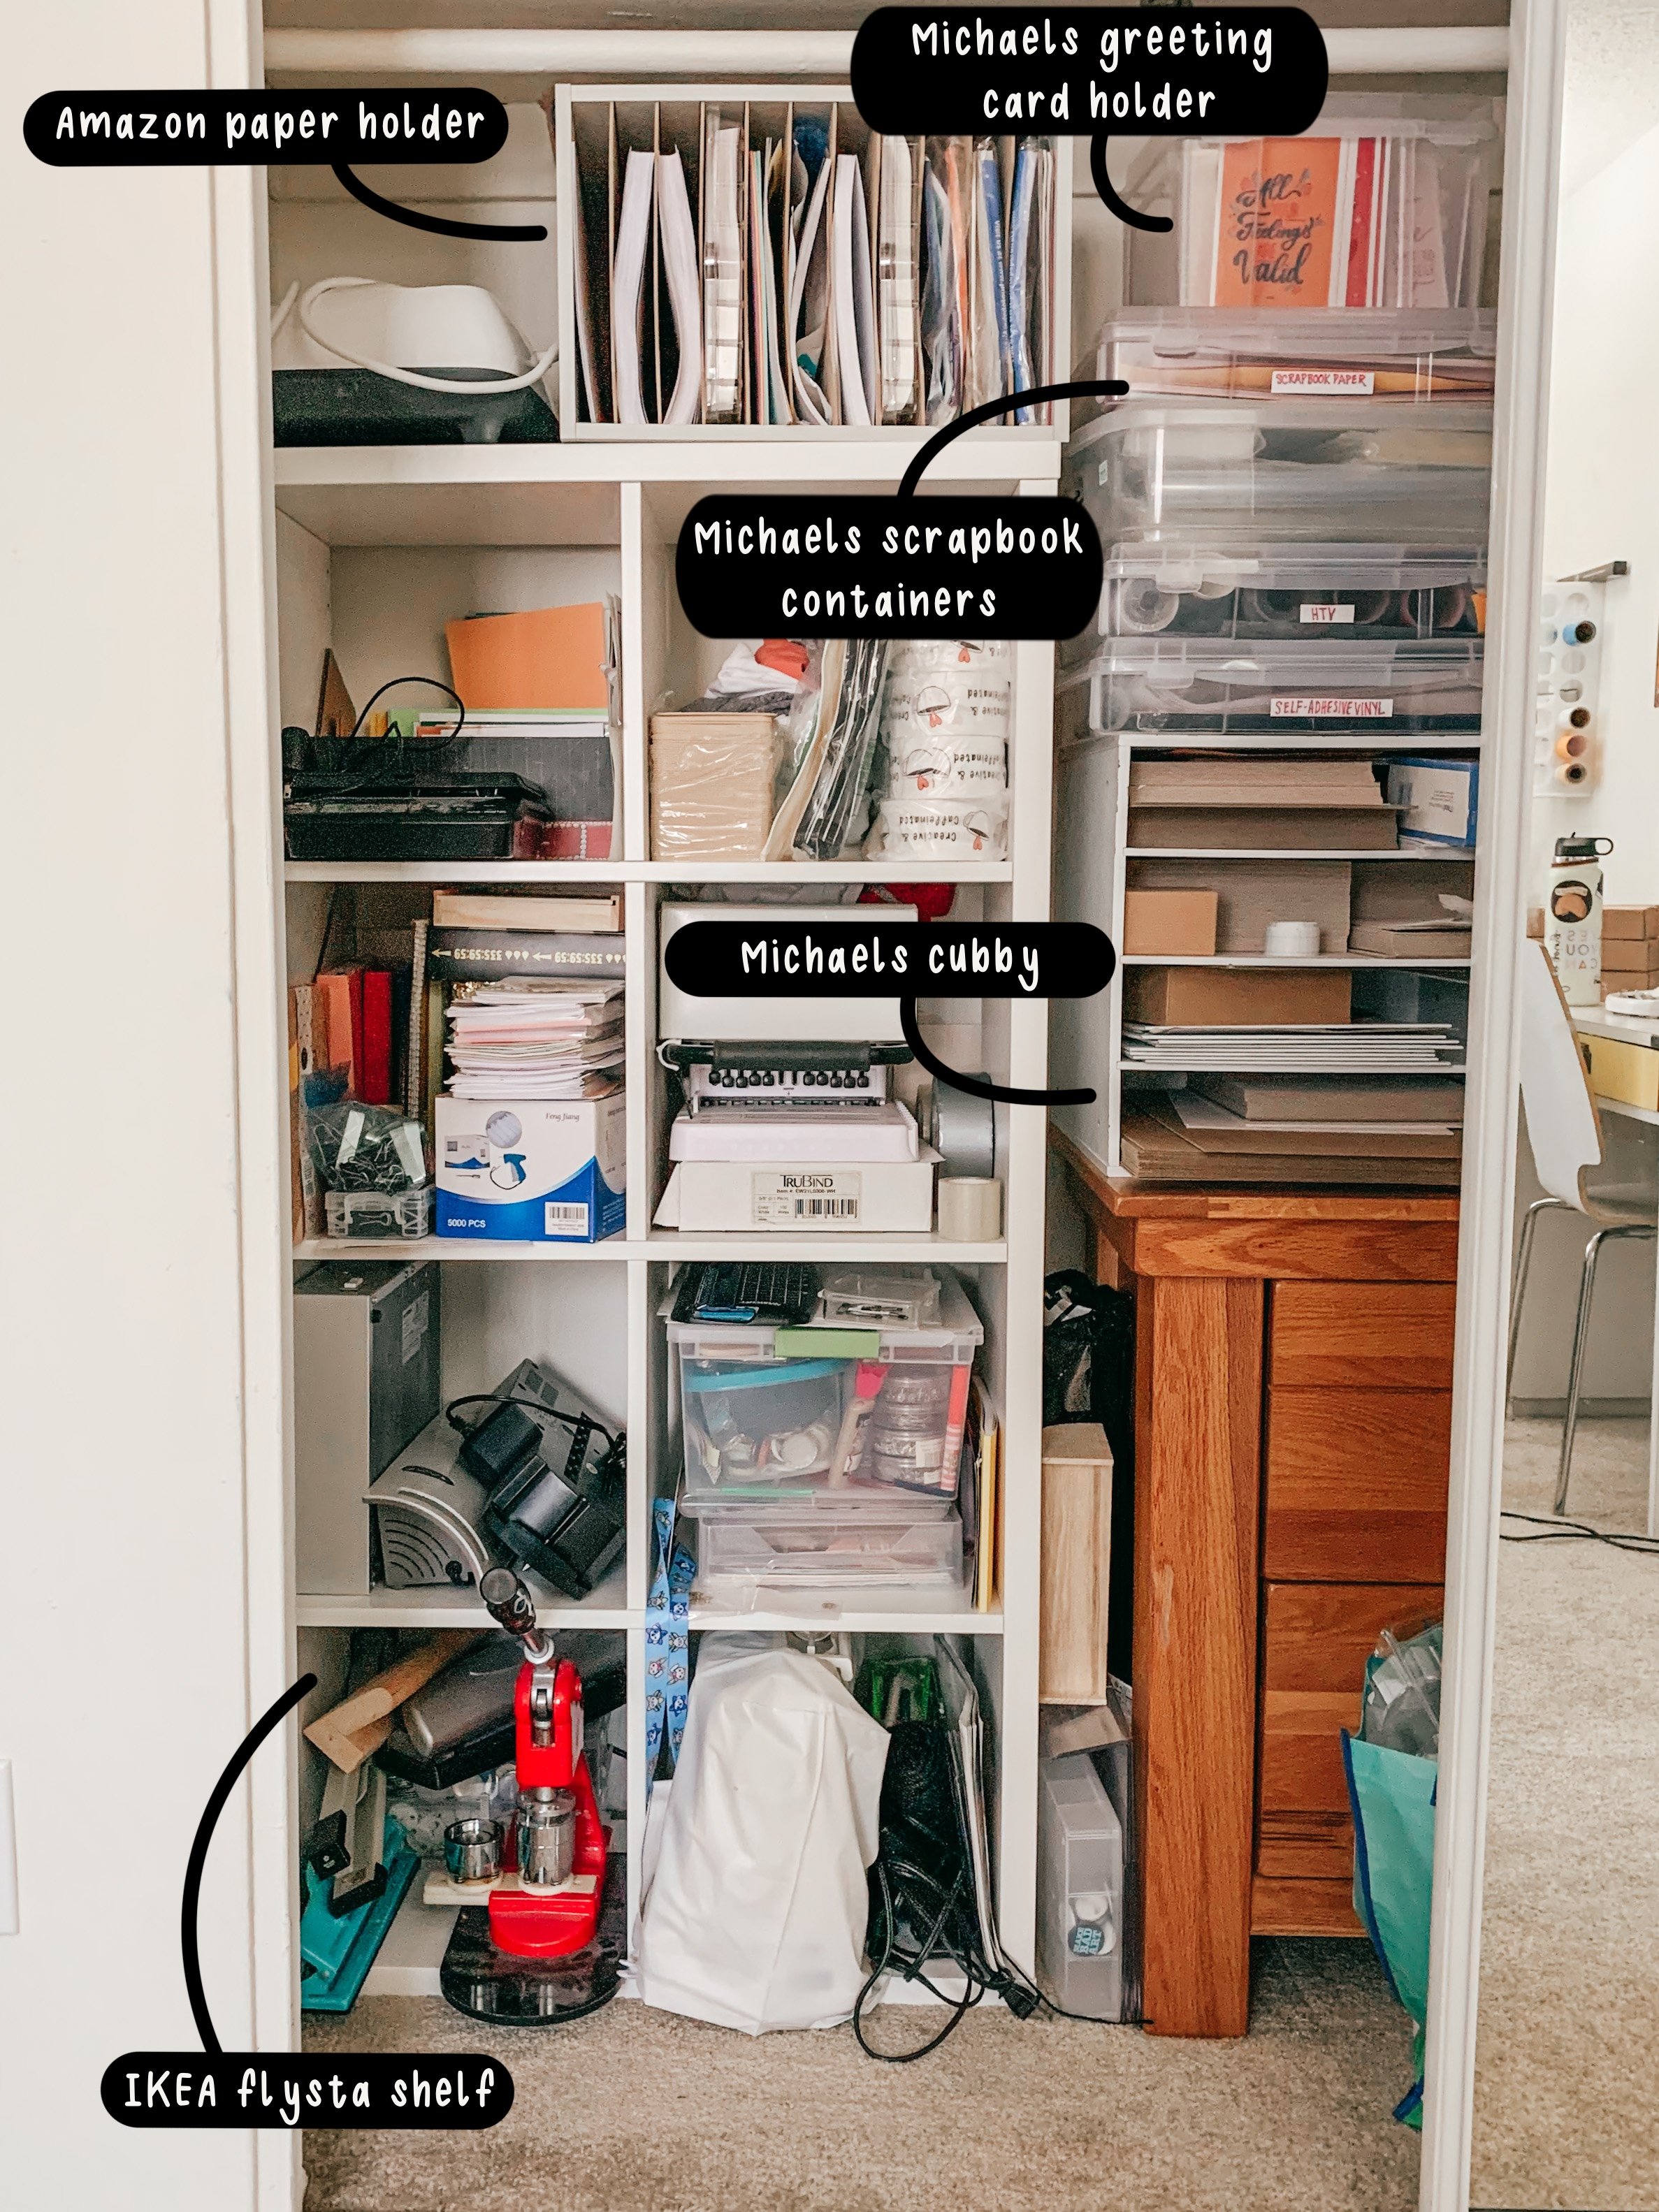
What you see here is my “half” of the closet (sans camping gear and other non-small-biz related things). It’s mostly made up of my IKEA FLYSTA shelf, which houses things like shipping supplies, blanks for heat pressing, laminators, light boxes, book making supplies, a button press and a sewing machine from 2003 that I have absolutely no idea how to use. Atop the shelf, I have my Cricut Easy Press 2*, and a paper organizer* from Amazon shown below:
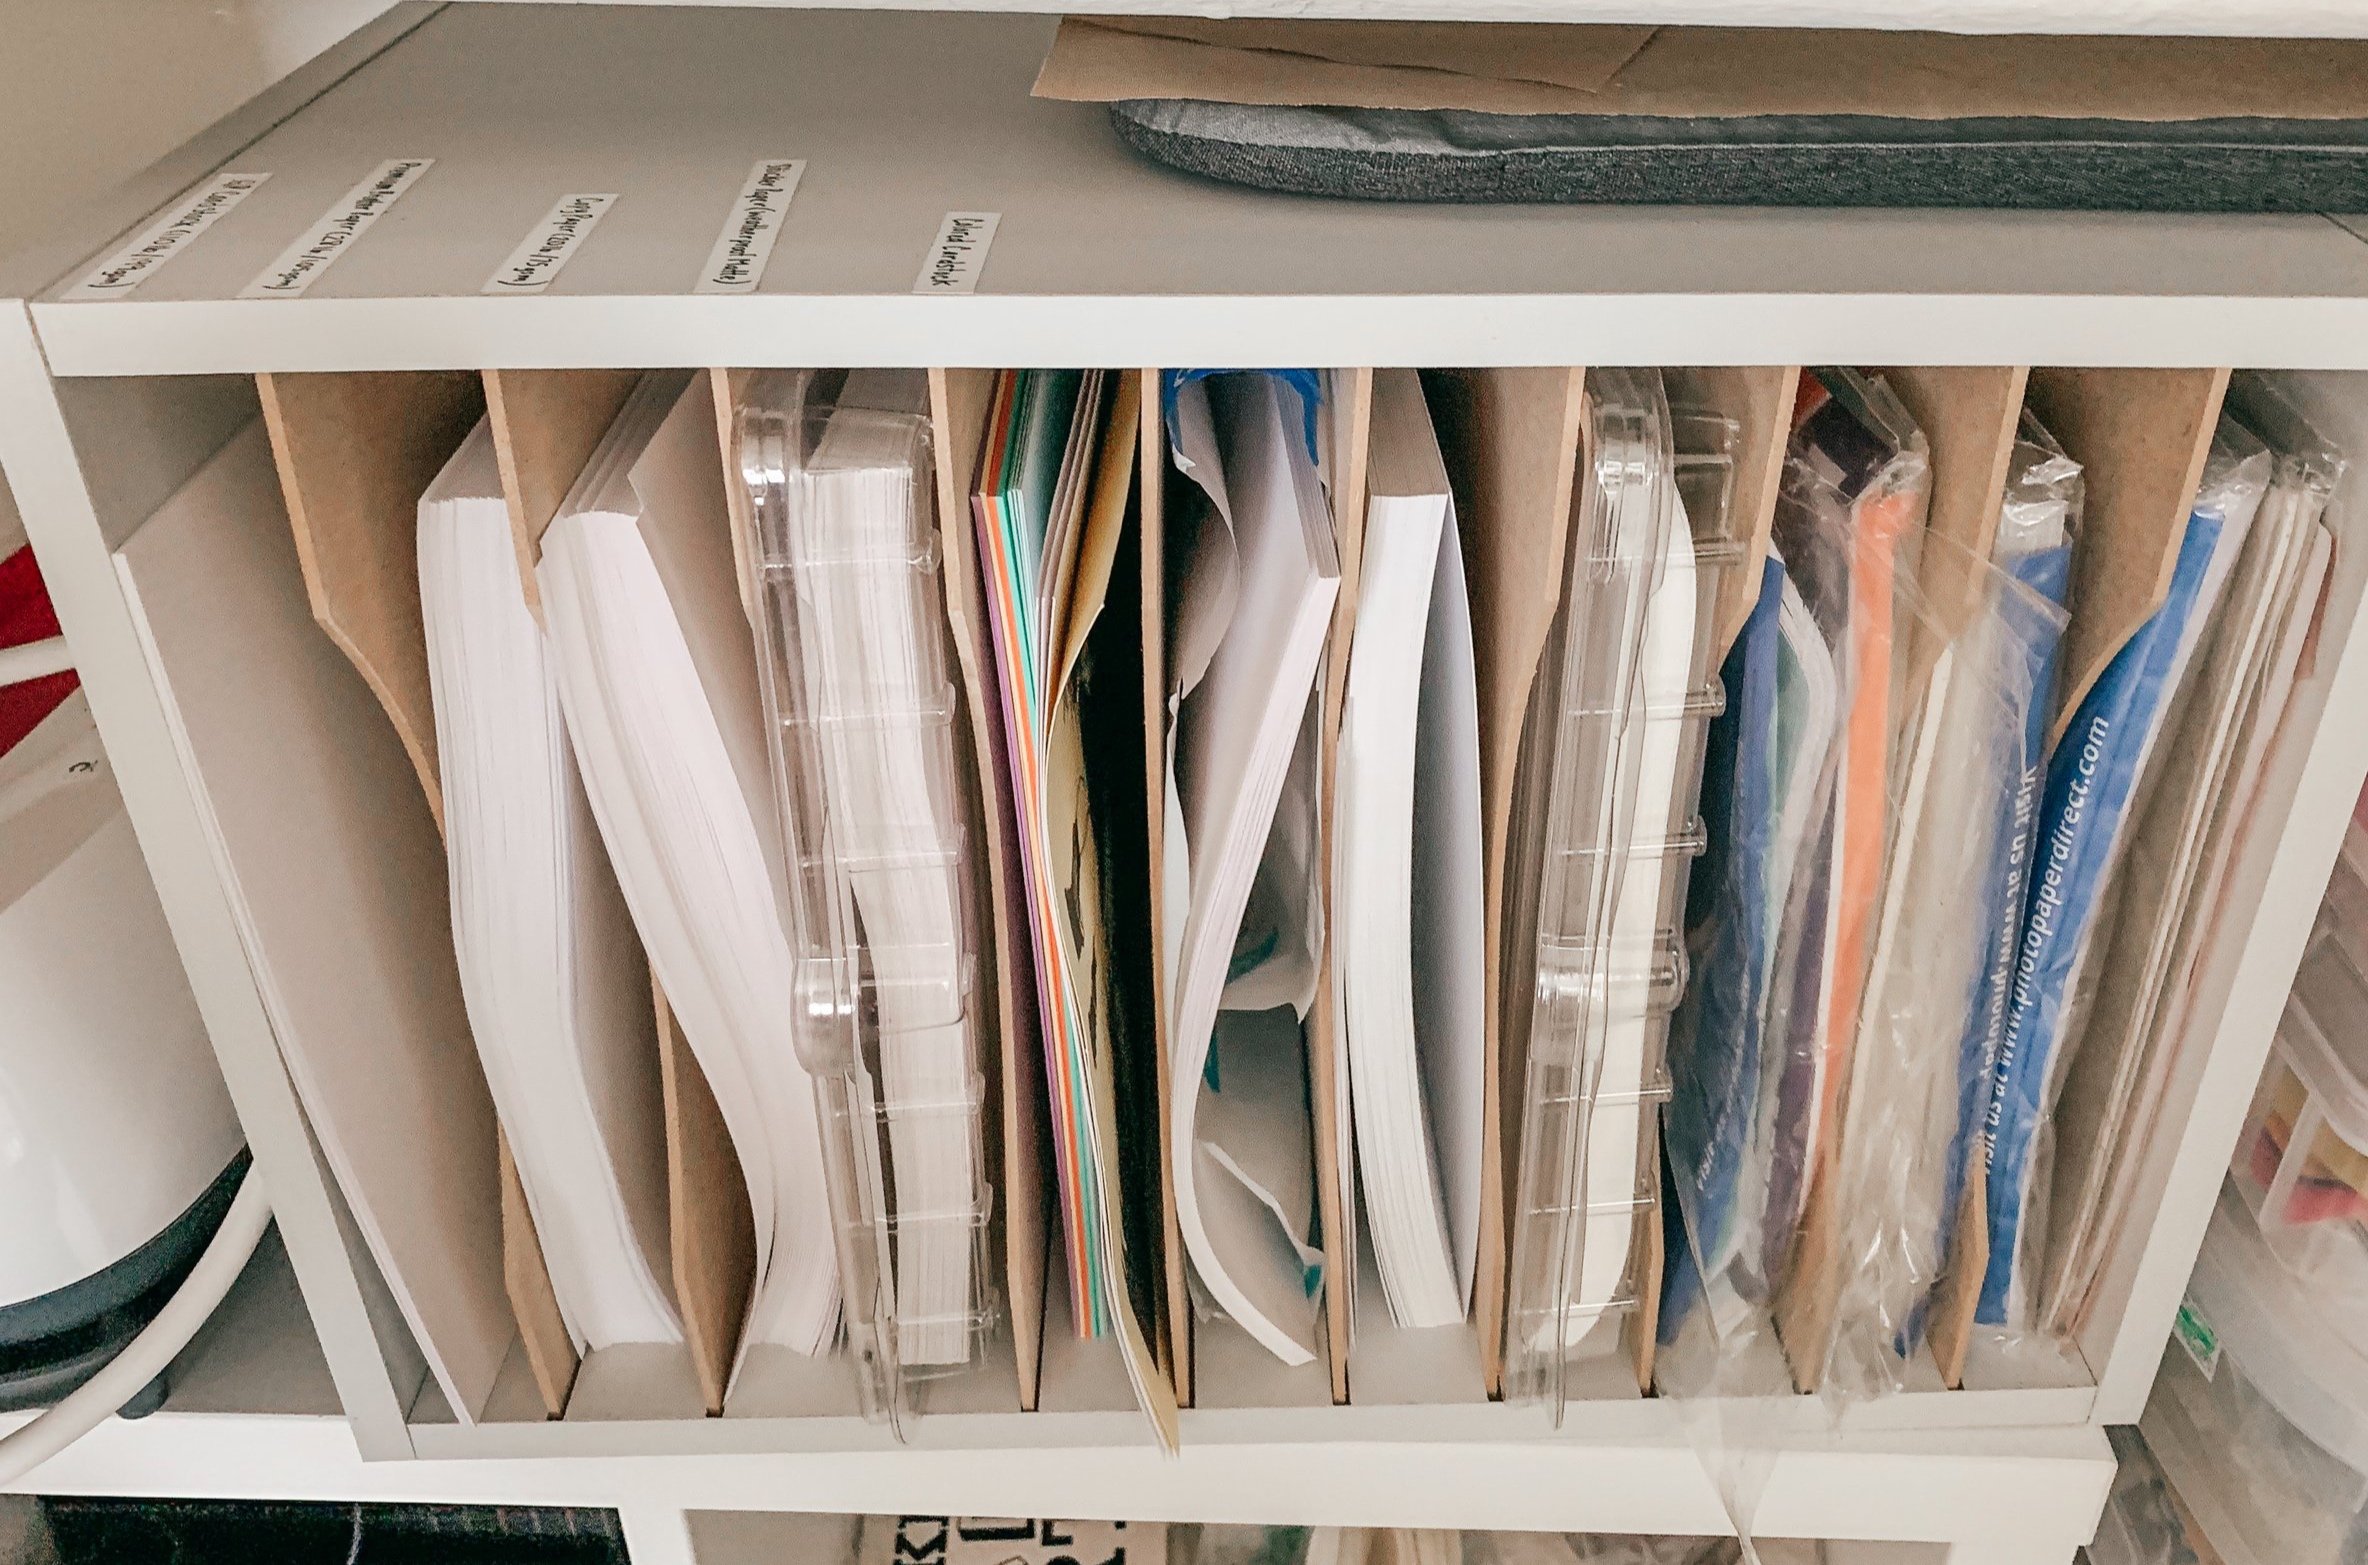
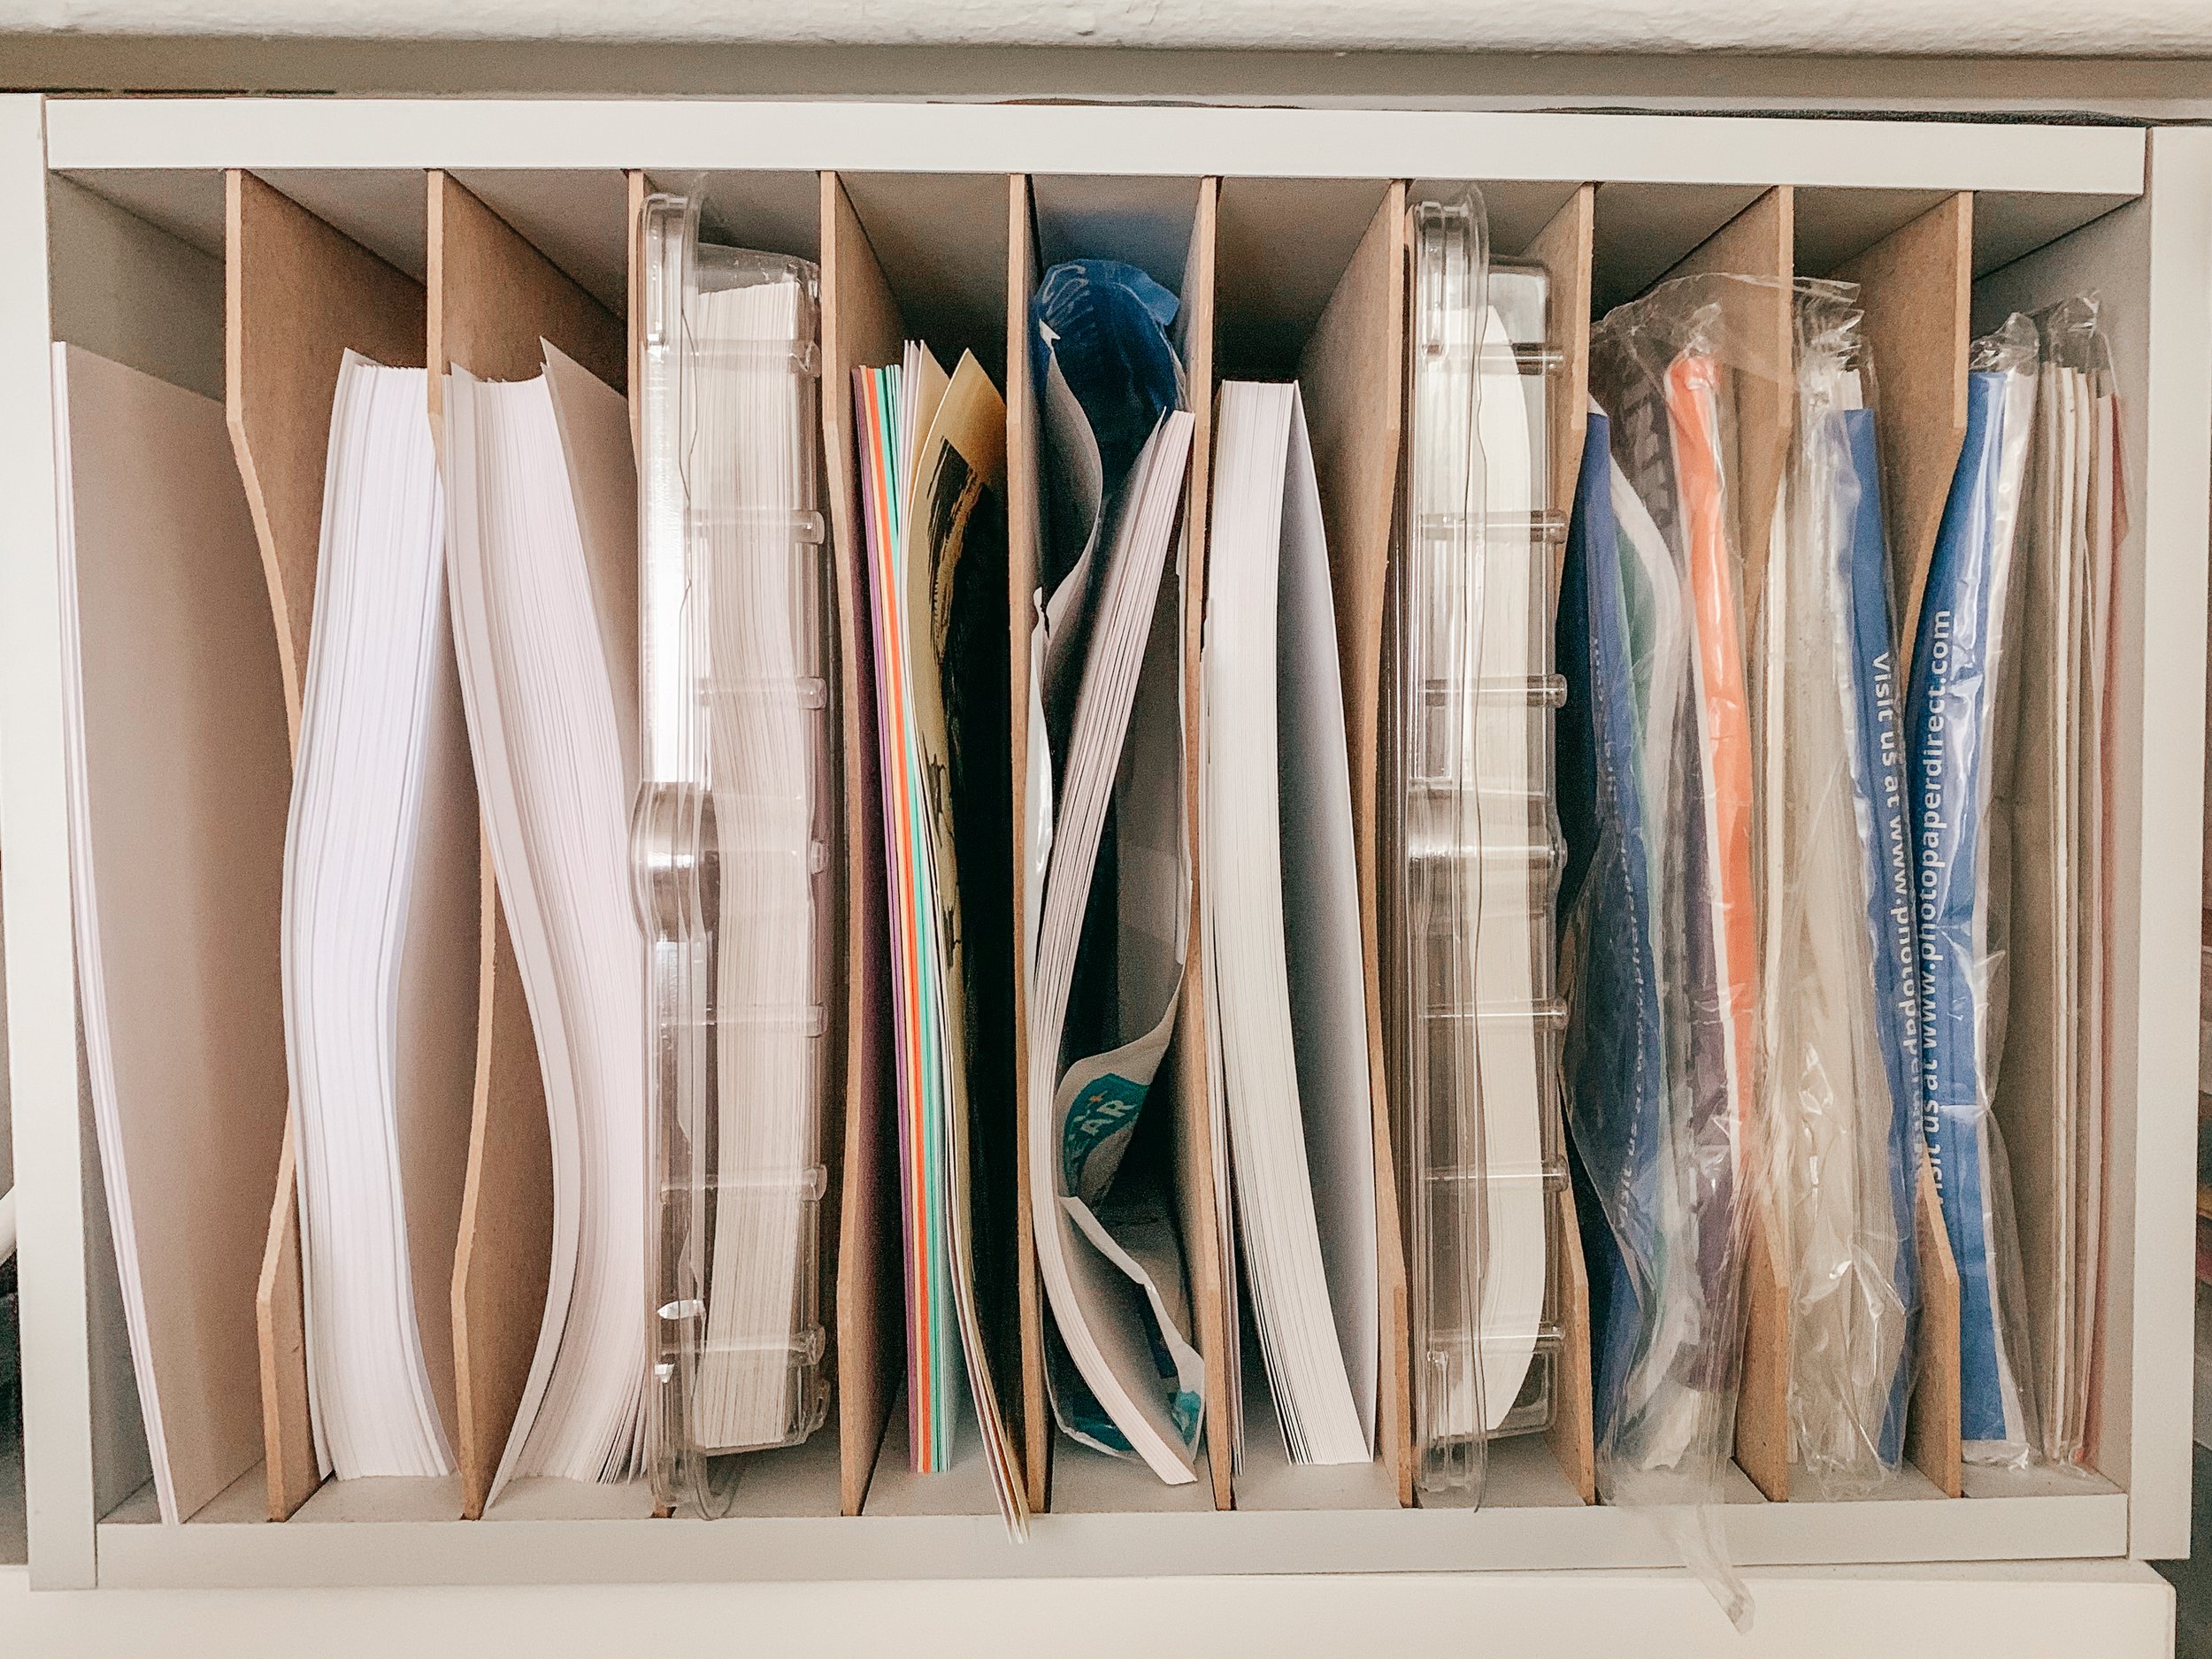
This organizer holds all of my most used papers, like my sticker papers, cardstock and regular old printer paper. This allows me to easily access them in a pinch. A bonus tip for you— label each slot so you know EXACTLY the paper you are reaching for and don’t end up with any botched projects.

Next, we have these various clear plastic storage bins. All of these are from Michael’s. You can find them in the scrap book section. These flat ones are great for storing scrap paper, cellophane bags, and various sheets/scraps of vinyl. I used some scraps of sticker paper to create some handy labels. The smaller/taller one is great for storing small prints and postcards. I can easily see which design I’m grabbing for, which makes preparing orders a breeze. It’s also convenient for traveling to pop up events and ensuring the prints don’t get damaged.

This storage cubby from Michael’s is a great storage solution for some of my packing and shipping supplies. It’s large and very sturdy. There’s TONS of storage cubbies like this one in the Simply Tidy range from Michael’s. If this cubby isn’t quite what you need, I’m sure you’ll find something that works perfectly in your workspace within their product range.
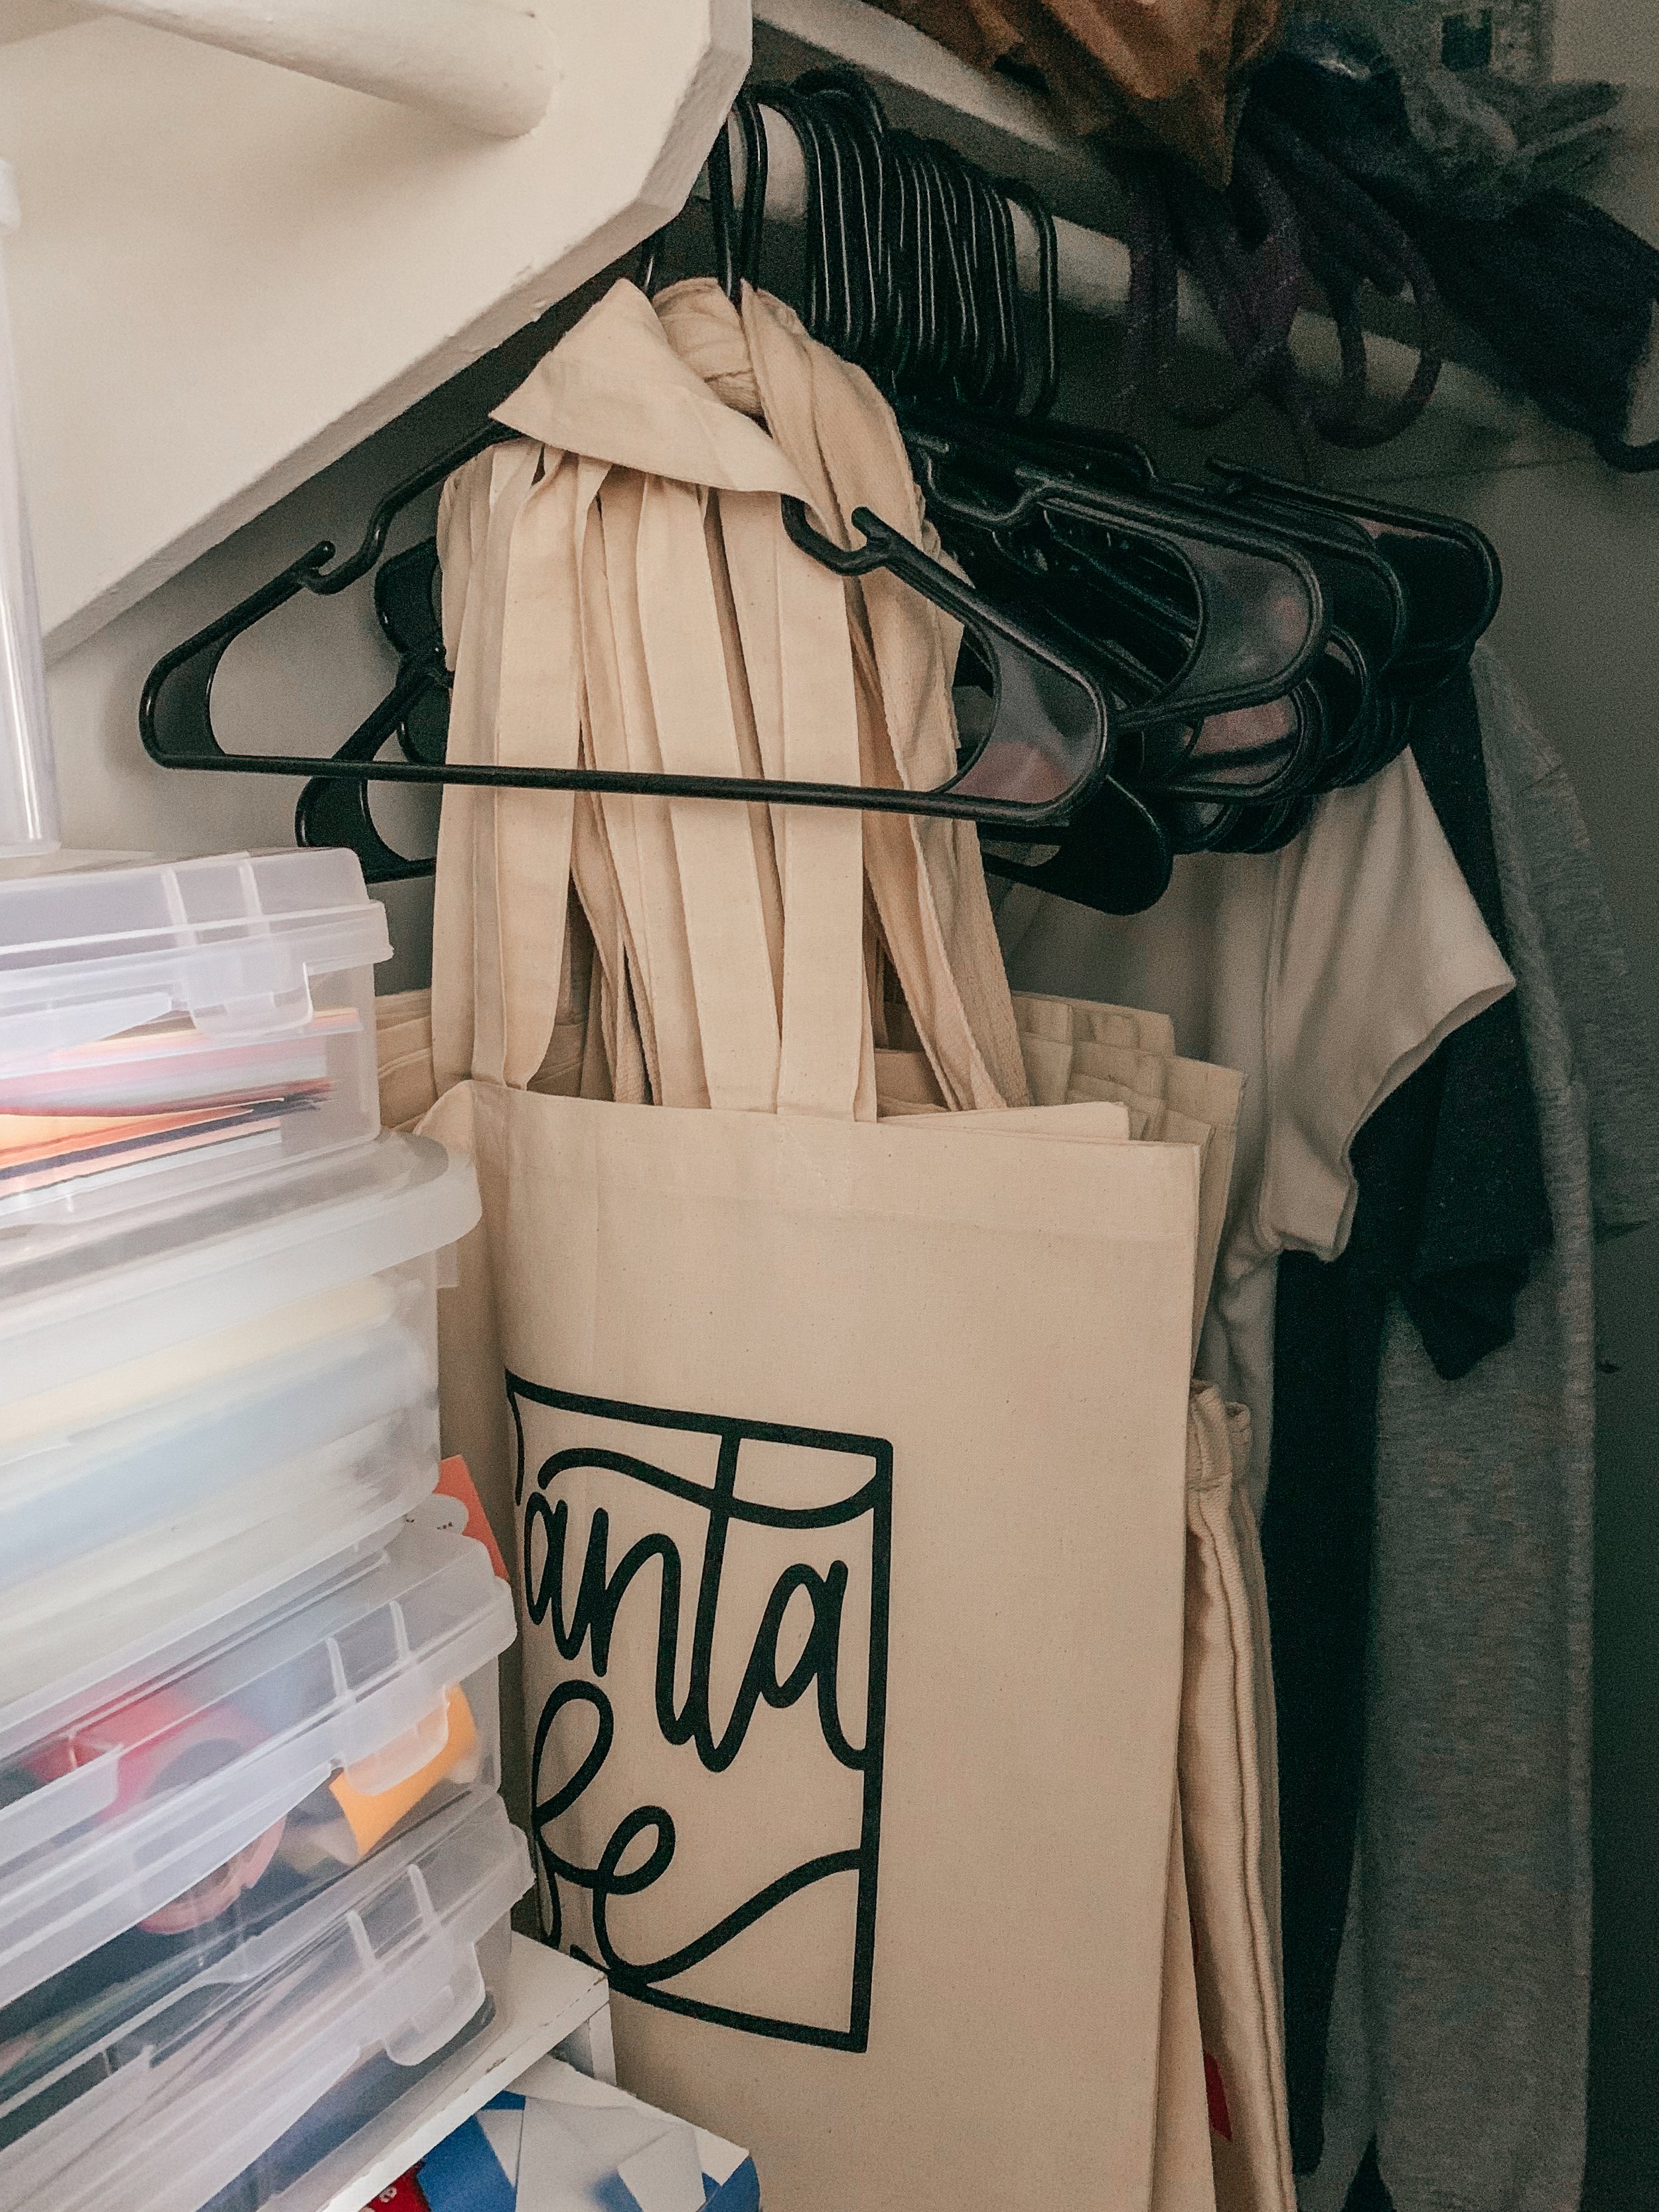
A less, aesthetic storage solution, but a highly practical way I have found to store my tote bags is with these plastic hangers. This means no wrinkles and I can easily sift through them to see which ones I have in stock.
That’s ALMOST a Wrap:
One last tip before I wrap up this blog post. DO NOT throw away your old disinfectant wipe containers. They make the best containers for your vinyl scraps!

That’s It! Now Scram!
Phew! We made it to the end of this very long blog post. I home you came away with some ideas for your own workspace. If you found this blog post helpful, I’d appreciate you sharing it with a fellow crafter or small business owner! Don’t forget to join our newsletter so you can be notified every time we post new stuff here on the blog!